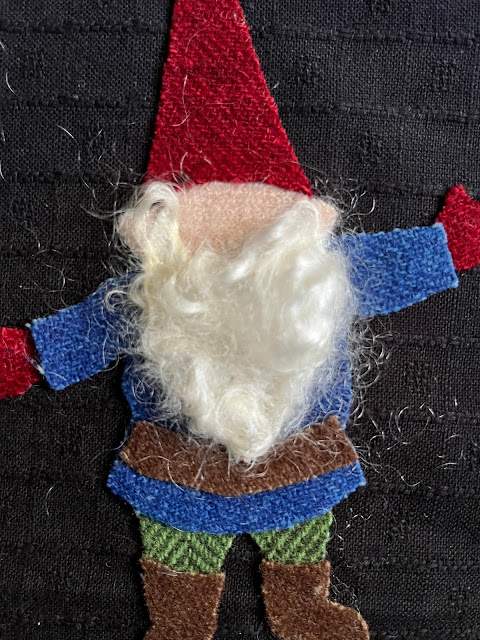
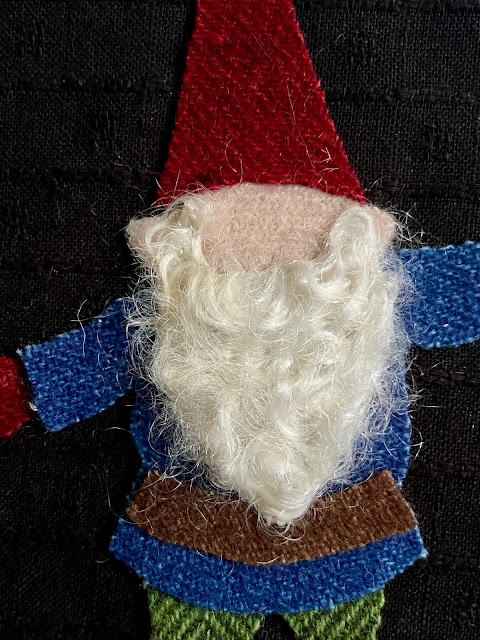
Instead of "No-shave November," over here it is "Gnome-shave November," as our gentleman gnome has a fun and curly beard! We have used curly wool to give some great texture to our gnome's beard, and the curly wool is available as part of the embellishments in our wool kit. While it might look complicated, we have broken the process down for you in a series of pictures.
Use just a small amount of curly wool—it doesn't take much.
Roll it around in your hands until you have a small, slightly compacted ball of wool.
Pull apart the ball of wool to fit your beard shape.
Stick a few pins in the wool, then thread your needle with matching thread and start stitching at the top of the beard.
With small tack stitches, couch the wool down working your way around the face.
Down one side of the beard...
...until you get back to where you started.
Your beard will look very fluffy and somewhat out of control.
In order to tame that beard, take small tack stitches within the beard to tidy up the fluff. As you are taking those stitches, you can tack down any stray fibers and bring them under control. You will use a lot of tack stitches.
So that is how we attached the wool for our gentleman gnome's beard. If you don't have curly wool, wool roving would work, or just use the plain cream wool and add some stitching within it with wool thread.
Have fun with it!


