Showing posts with label hand applique. Show all posts

Thursday, December 23, 2021

Happy Holidays!


From our homes to yours, 
we wish you the happiest of holiday seasons!

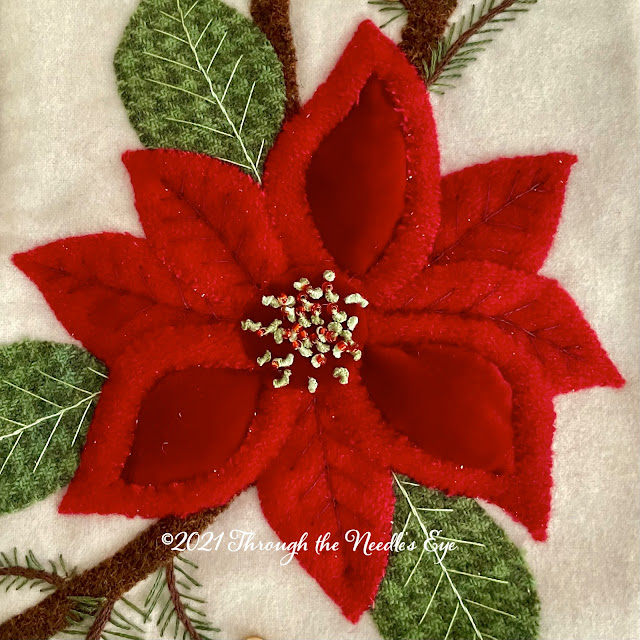
Fun Fact: Did you know that the very center of the poinsettia is the actual flower,
 which is surrounded by red and green leaves? 
 

We will be taking a short blog break for our family celebrations, but we look forward to stitching with you in the new year! 

Thursday, October 28, 2021

Velvet, Anyone?

Ahh, velvet . . . even the name has a warm, fuzzy feeling. As textures go, it is hard to beat, with its softness and shiny nap catching the light, making the color sing. Since we love to mix fibers and textures in our work, we were thrilled to discover this new product—a hand-dyed stretch velvet, by The Velvet Hook. We first tried this velvet a couple of years ago, when we began our Woodland Reverie series. We thought it would be perfect for our pussy willows and mushroom caps. And we were right! This unique fiber does not fray, so it is easy to gather and even needle-turn! It is superb for flower centers, adding dimension and texture, and creating interest in your appliqué designs. And because of the stretch, a little bit goes a long way!

As we have sung its praises as a great fiber for embellishing appliqué, Dianne—owner of The Velvet Hook—has offered to put together sample packages arranged by color so that we could offer them to you. Take a look at some of the ways we have used velvet in our designs.


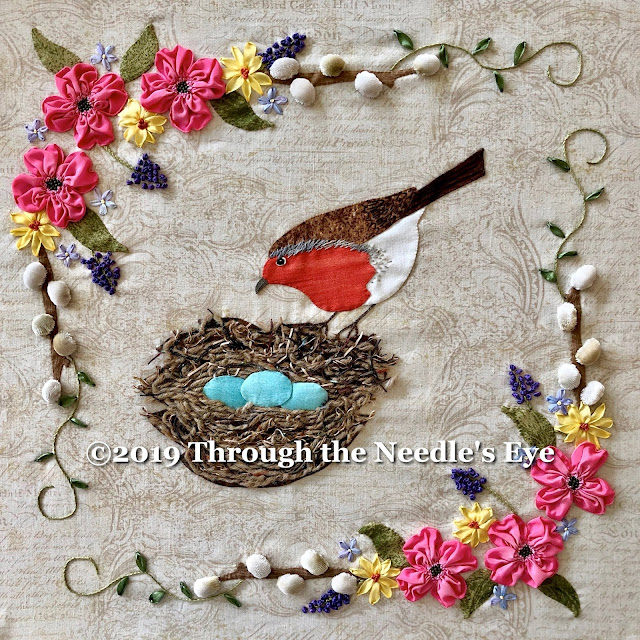
In our Woodland Reverie Spring Robin, the pussy willows are made of velvet, gathered, stuffed, and sewn down to the branch.


The velvet mushroom caps in our Woodland Reverie Autumn Mushrooms really reflect the light! 


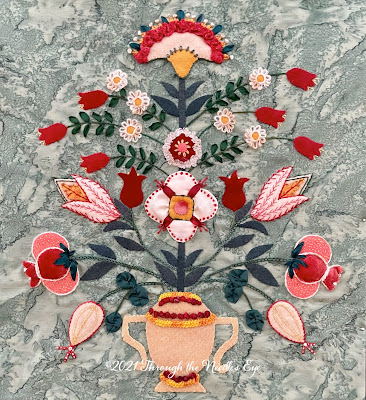
Alsatian Urn includes several velvet embellishments, seen below.

Gathered around a circle, it is the perfect center of this ribbon flower. Note how it catches the light!

The center of this flower is appliquéd with the velvet, and then stuffed for dimension.

Patterns and kits for Alsatian Urn are available on our website.

Next September, we will be teaching four of our Woodland Reverie blocks in wool at Baltimore on the Prairie. More pussy willows are seen above in the wool version of the Spring Robin.

And one of the new blocks is the Summer Fox, which also includes the velvet.

The gold velvet was perfect for replicating the conical center of a coneflower, and because of the nap, it didn't need added knots to give that effect.

The velvet was also ideal for these stumpwork blackberries. The beads blended into the stuffed velvet, and the stretch made them quite easy to create!


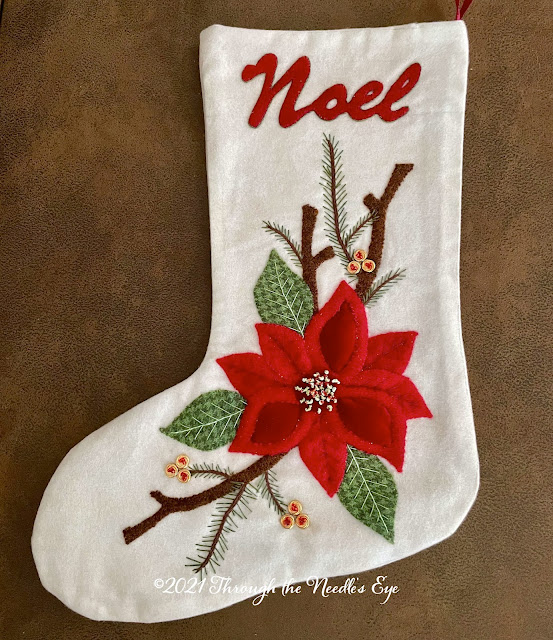
Our new Poinsettia Stocking kit features padded velvet petals and a stuffed velvet flower center. The velvet adds a richness to the poinsettia. Patterns and kits are available on our website.


Introducing Velvet Varietals
Hand-Dyed Stretch Velvet
by The Velvet Hook
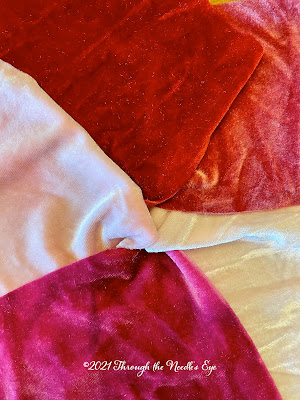
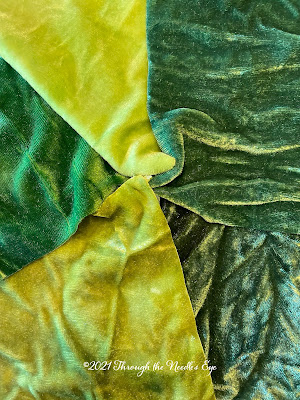
Each package of hand-dyed stretch velvet includes five 6-inch square pieces of velvet, and we have four colorways available: Reds, Greens, Purples, and Yellows.

Reds and Pinks 
Various Greens


Purples and Magentas
Yellows and Light Oranges

We are thankful to Dianne Tobias from the Velvet Hook, who has been willing to work with us and has dyed several pieces especially for our designs. It may be a new fiber for you, but we think you might enjoy it as much as we do. Aren't the colors just spectacular?!!

To order velvet, go to our website, needleseyestories.com/shop. Supplies are limited, so don't wait too long to check it out! 


Thursday, June 10, 2021

"In the Garden" Again: Hummingbird and Fuchsia

Spring is waning and summer is near. Porches are bedecked with hanging flower pots brimming with blooms, and among my (Teri's) favorites is the fuchsia. Its colors are so vibrant and the design is magnificently detailed—a perfect companion to our little feathered friend, the hummingbird. You won't believe how fun it is to create these ribbon fuchsias, and they aren't as hard as they look like they'd be—promise! It feels a bit magical when you are gathering these petals. 


As before, the printed pattern includes all the ribbon you need to create this block, as well as the pistils and metallic braid for the hummingbird, and this week, you can save 10% with the coupon code HUMMINGBIRD10. Are you ready for some flower fun?!

🍃🍃🍃🍃🍃🍃🍃🍃🍃🍃🍃🍃🍃🍃🍃


Thursday, May 10, 2018

"In the Garden"—Hummingbird and Fuchsia


We are back In the Garden this week with the latest block of the month in our series. What better time than spring—at least here in the northern hemisphere—to think about what to plant to attract those cheerful, bright hummingbirds? Fuchsia seemed the obvious choice, with their vibrant colors . . . and they are fun to create, as well! We had a fabulous time blooming fuchsia in our class this past Sunday. You, too, can join in the fun; the pattern, complete with ribbon, pistils, and a metallic twist, is available on our website!


Here is how this block came together.

I (Teri) first stitched the branch and leaves in place. I used a matching green wool for the leaves, as my wool had a herringbone design and didn't really need veins. You could, however, embroider some veins if your wool is a solid.

The hummingbird's ruby throat is stitched down using Painter's Threads Metallic Twist, by Threadnuts, with a chain stitch. Ribbon stitches in 7mm silk ribbon are stitched below for his white breast. Green feather-stitched feathers are stitched on his body. The wings and beak are embroidered with a dark floss. His French-knotted eye is topped with a white bullion.

The Fuschia

I used two pistils, folded them in half, and tacked the pistils to the center of my purple satin ribbon.

   
Then, I folded the purple ribbon around the pistils at 45-degree angles, above left, and did a running/gathering stitch across the ribbon, above right.


To secure the gathers and shape the center of the fuchsia, I often take another stitch through the gathers on the back, left, and then knot the thread. You can trim the fuzzy edges above the gathering stitch, right, but not too close to your gathering stitches.

Three centers, waiting for the outer petals

Using 1 1/2-inch wide wired ribbon, fold the ribbon in half to find the center, and fold each edge toward that center fold, as above.

Tack the purple flower center to the center of the folded ombré ribbon, using a strong or doubled thread. (Pretend that the white center above is purple, please!) Note that the raw edges of the ribbon is the side where you tack your center. I leave my thread in place.

 
You will do a running stitch in the shape of a diamond as indicated by the arrows above, going through both layers of the ombré ribbon, but NOT stitching the flower center. Be sure that when you come to the points, your thread wraps around the edge of the ribbon, from front to back, or vice versa.

Note that I even need to wrap that thread from one side to the other at the bottom, beneath the flower center, to create the gathers needed to make my petals. Do not knot off your thread yet.

Hold your finger on the flower center and gently pull your thread to gather the top petals. Pull from the thread near the flower, rather than with the needle, to prevent breaking the thread. As you gather, the stitches begin to line up horizontally, and you can gently pull to the side. Gather fairly tightly, and knot it off on the back. Turn the flower over and shape it, using the wired edges.

To make the bud, remove the wire from the light edge and fold the ribbon in half so that the wired edges are together. Take a running stitch in a U shape, from the wired edge down one raw edge, along the folded edge, and up the other raw edge. Gather tightly and knot. Shape it, creating a point on the side opposite the gathers.

Use matching thread and stitch the flowers in place with tack stitches in the gathers, so the stitches don't show. Continue to shape the flowers and use the stitches to keep the flower in shape. Embroider the stems, and you are finished!


So many lovely blooms were created in our class at Primitive Homespuns Wool and Needleworks on Sunday. I can't wait to see some of their finished blocks next month!

Hummingbird and Fuchsia

To read about the other blocks in our In the Garden Block of the Month series, click on the links below. All patterns are available on our website (www.needleseyestories.com), both in digital and hard copy format. The hard copies come with any ribbon needed to complete the blocks, as well as a detailed list of the threads we used. Won't you join us In the Garden?!