Once upon a time, there were two friends who loved fairy tales and quilts, so they created an album quilt comprised of fairy tale blocks of some of their favorite stories. Those designs became the impetus for a wool quilt, ornaments, a crazy quilt, and a flannel baby blanket. I (Teri) thought it might be fun to create a small quilt combining patchwork and redwork embroidery, just to round out our fairy tale stitching.

I did all the embroidery about four years ago, and gathered my fabrics—reproductions—to make the patchwork blocks and even made a sample churn dash block. It all got placed in a bag and put on hold, because we were in the process of moving. And then I forgot about them for a couple of years. This past winter, I pulled them out and decided it was time to complete the quilt. With a little help from my friend, Barb, we knocked out those half-square triangles. Since each block needed four, I found this method to be the easiest way to get eight at once.
 |
| With right sides together, layer the two fabrics. Mark diagonals on the lighter fabric. |
 |
| Stitch a 1/4-inch seam on either side of the drawn lines. |
 |
| Cut vertical and horizontal cuts through the center point to make four squares. |

Place your ruler directly on the drawn line and cut the squares into two triangles. Press toward the darker side. This yields 8 squares, enough for two of my churn dash blocks. There are lots of sites available online to help you determine how big a square to start with to end up with the desired sized squares. If you love math, the typical formula is to take the size of the finished square, add 7/8", and double that number to get the size of your initial squares of fabric. I usually make mine a hair larger to I can trim down for better accuracy, so I tend to round up a bit.
When all my squares were made, I auditioned several large print fabrics to add interest, and of course, I had to choose my border. I don't like to do things the easy way, and I selected a stripe that had the colors I wanted to highlight from the quilt—it took me as long to carefully cut these border pieces as it did to make a whole churn dash block! But it was worth the effort.

Usually when I miter a corner, I add a good four inches on either end. Because I had just a yard of the fabric, I only had enough to miter with about a half-inch to spare on either end. I used LOTS of pins, sewed very slowly, . . .


. . . pressed my miter into place, pinned again, and hand appliquéd my mitered corner seams. That way I could better control matching my stripes.


After appliquéing the corner miter seams, I trimmed the back to a 1/4-inch seam allowance and snipped the corners straight.


Using the 45-degree angle marking on my ruler, I lined it up with my mitered seams to verify that I had maintained my square corners. Yay—it had worked! Now it was ready to be quilted.

I took the top to the Academy of Appliqué in March, where we met Beth Filko, who is a longarm quilter. The top went home with her so that she could work her magic. She did a spectacular job of capturing the personality of each block, enhancing the simple pictures to bring them to life.
Here are close-ups of each block.
 |
| How else would you start a fairy tale? |
 |
| One of Snow White's dwarves—with the poisoned apple |
 |
| The Nightingale singing for the emperor |
 |
| The Little Mermaid amidst the ocean bubbles (or sea spray) |
 |
| Cinderella's carriage |
 |
| Thumbelina in a walnut shell boat pulled by a butterfly |
 |
| The Ugly Duckling on the pond |
 |
| Jack's cow traded for a few magic beans |
 |
| Little Red Riding Hood in the forest |


Most fairy tales include royalty, so I included a castle and a crown.
 |
| And of course, a typical fairy tale ending |


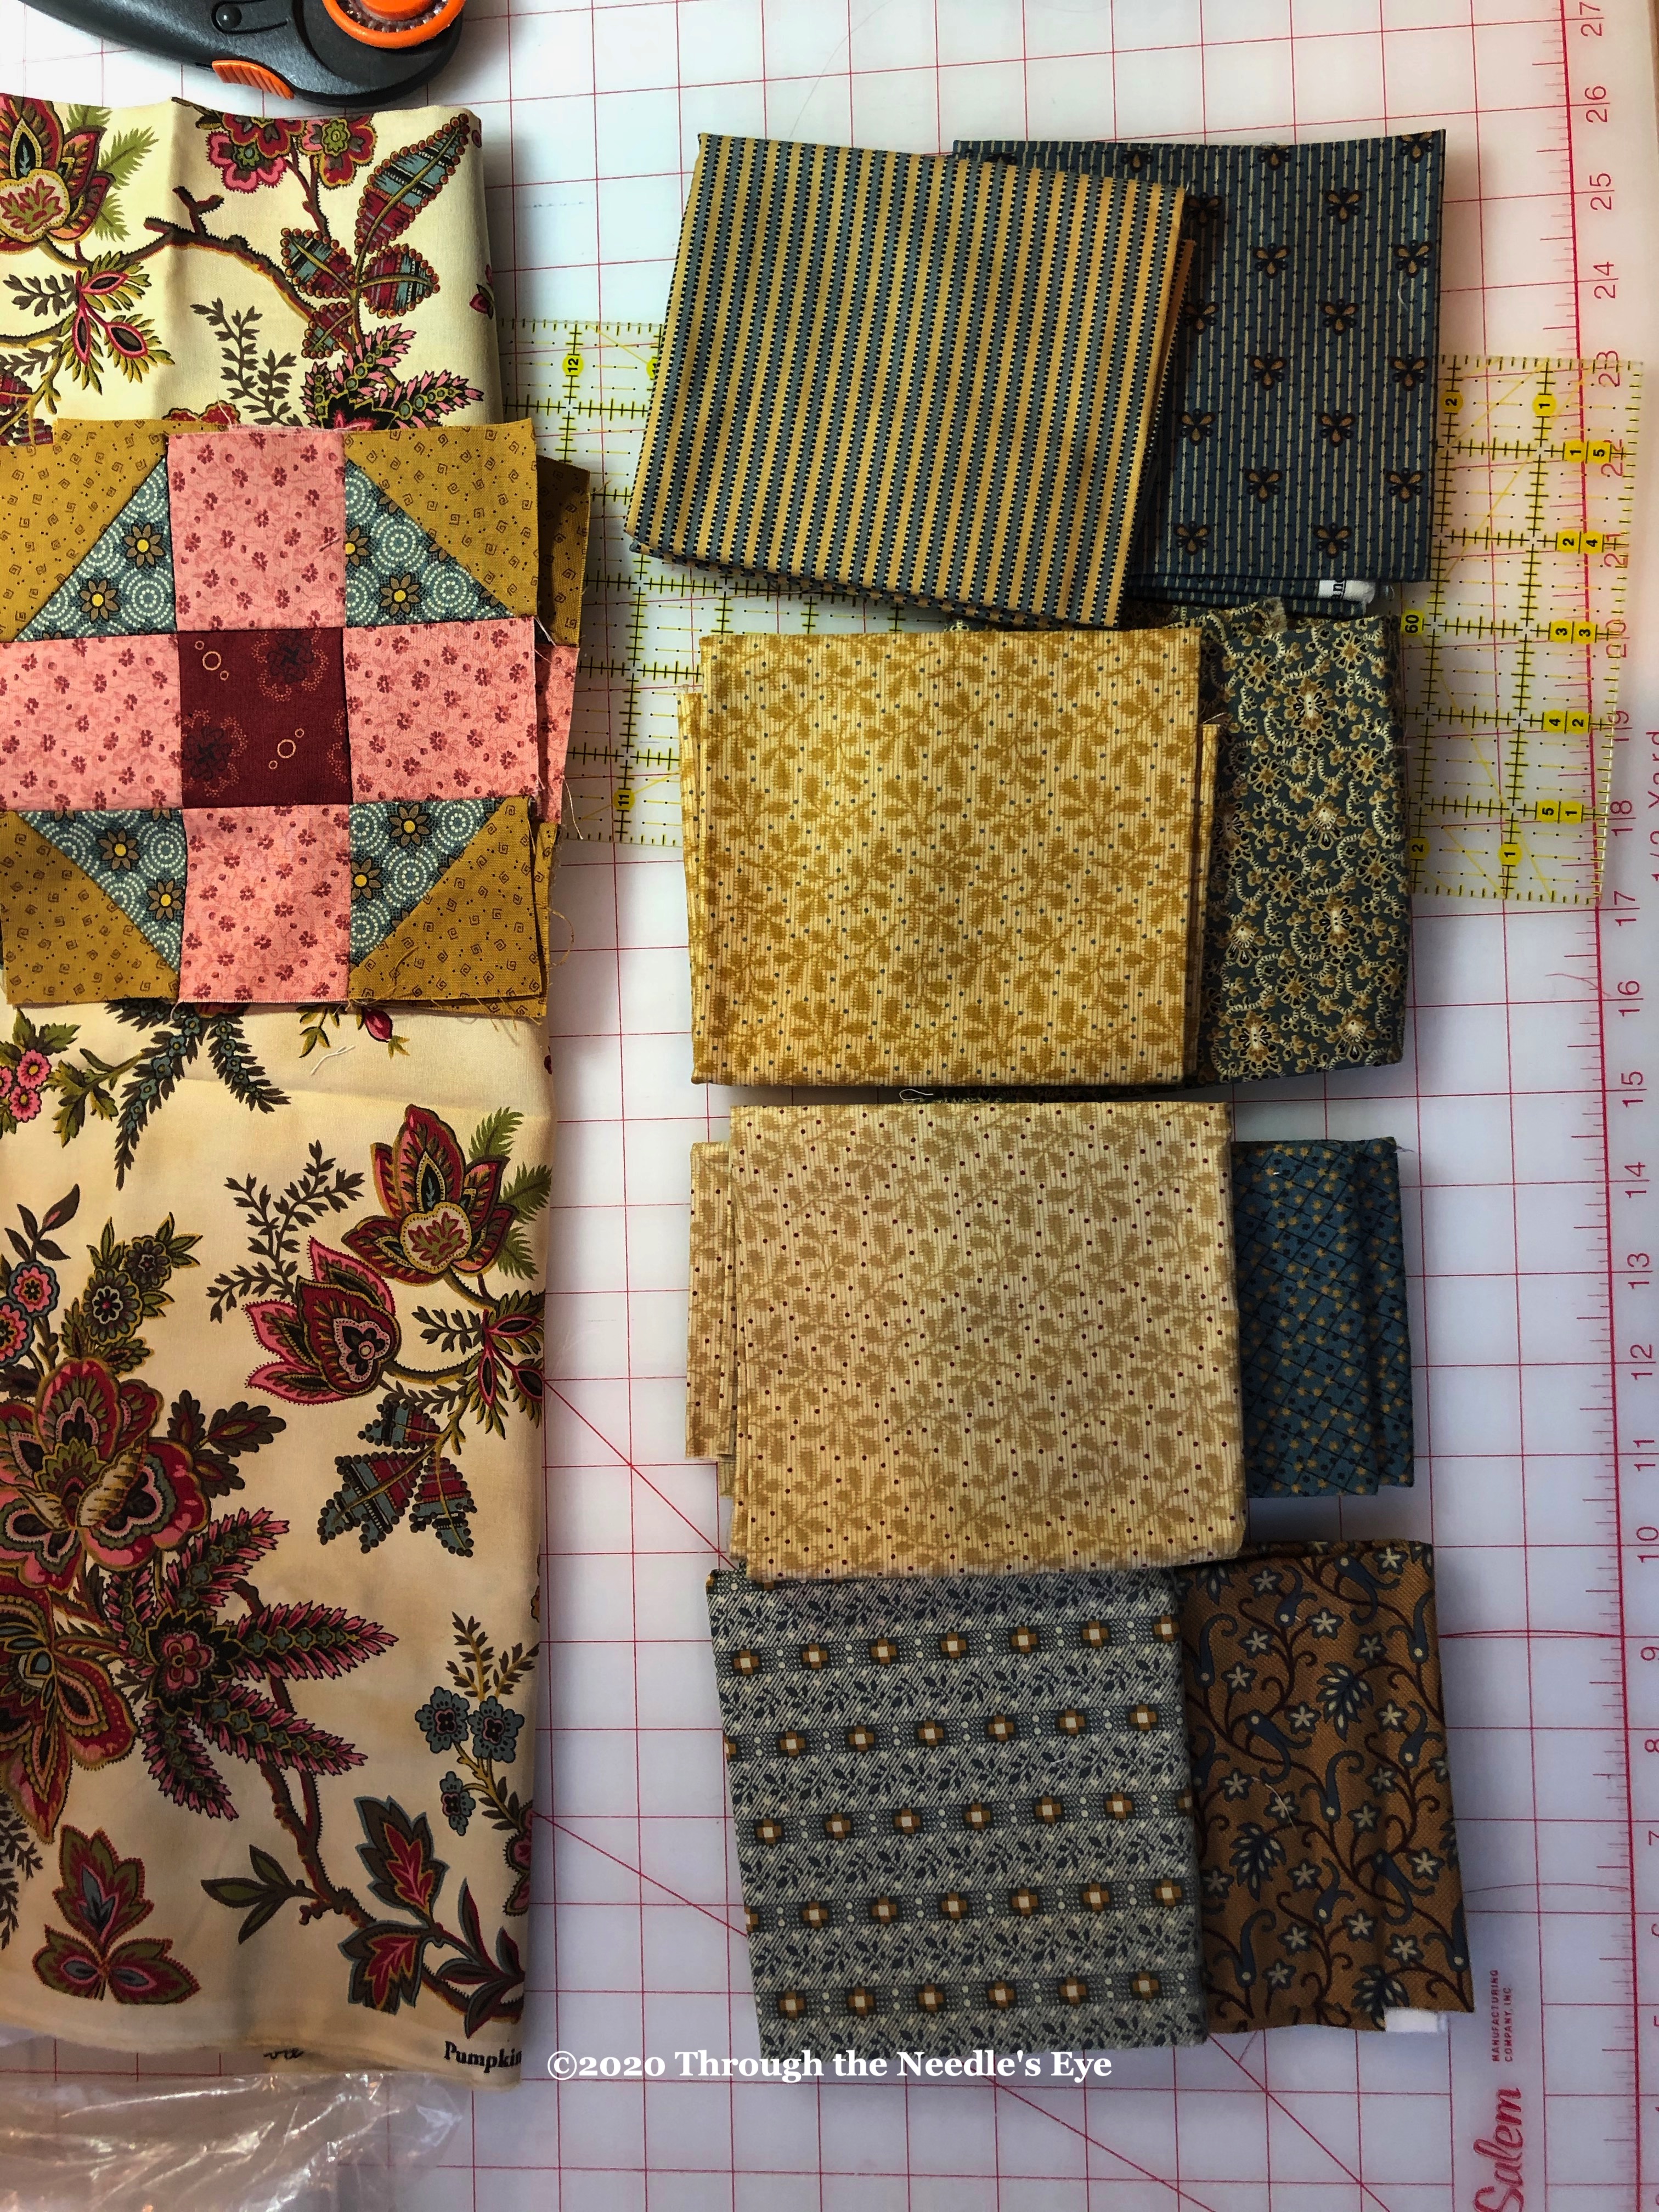
There were five variations of the churn dash block. The center cross fabrics were identical throughout, and the half-square triangles were all blues and golds. The large scale print incorporated all the colors in those pieces blocks.
 |
| The large print blocks were fussy cut and rotated around the center churn dash block. |
 |
| The binding pulled the double pink fabric out from the pieced blocks. |
 |
| Fairy Tales in Redwork |
What a fun little quilt to make, even if it did take me years to finish it. I'm blaming the move to a new house. (I have to have some excuse, and that works as well as any.) I absolutely LOVE the work that Beth did in quilting it. Isn't it fun to study the blocks and see how she added to the symbol of the story in the quilting she chose? Thanks, Beth, for your fabulous work!
Someday, we will have all these fairy tales patterned! For now, we hope you enjoy remembering those classic tales of old.
NOTE: If you would like to see some of our fairy tale adventures, check out these posts:
No comments:
Post a Comment