
This week we present one of my (Kara) favorite In the Garden patterns—Violets. This pattern started out in a different format, but we knew it would be perfect for this series. It is the first pattern that uses French ombre wired ribbon and we think you will love it if you haven't worked with it before. Embroidery stitches play a big part in creating the wonderful dimension of the leaves and stems. A simple chain stitch defines the leaves and one of our favorite stitches, the Pekinese, creates the stems. You can make this for your In the Garden quilt or you can turn it into a sweet wallhanging (You can read how we created our wallhanging HERE.) You may want to make both!

💐💐💐💐💐💐💐💐💐💐
Until May 12th, use the coupon code VIOLETS10 to receive 10% off your Violets pattern purchase!
Roses are red,
Violets are blue.
God can make violets,
But so can YOU!
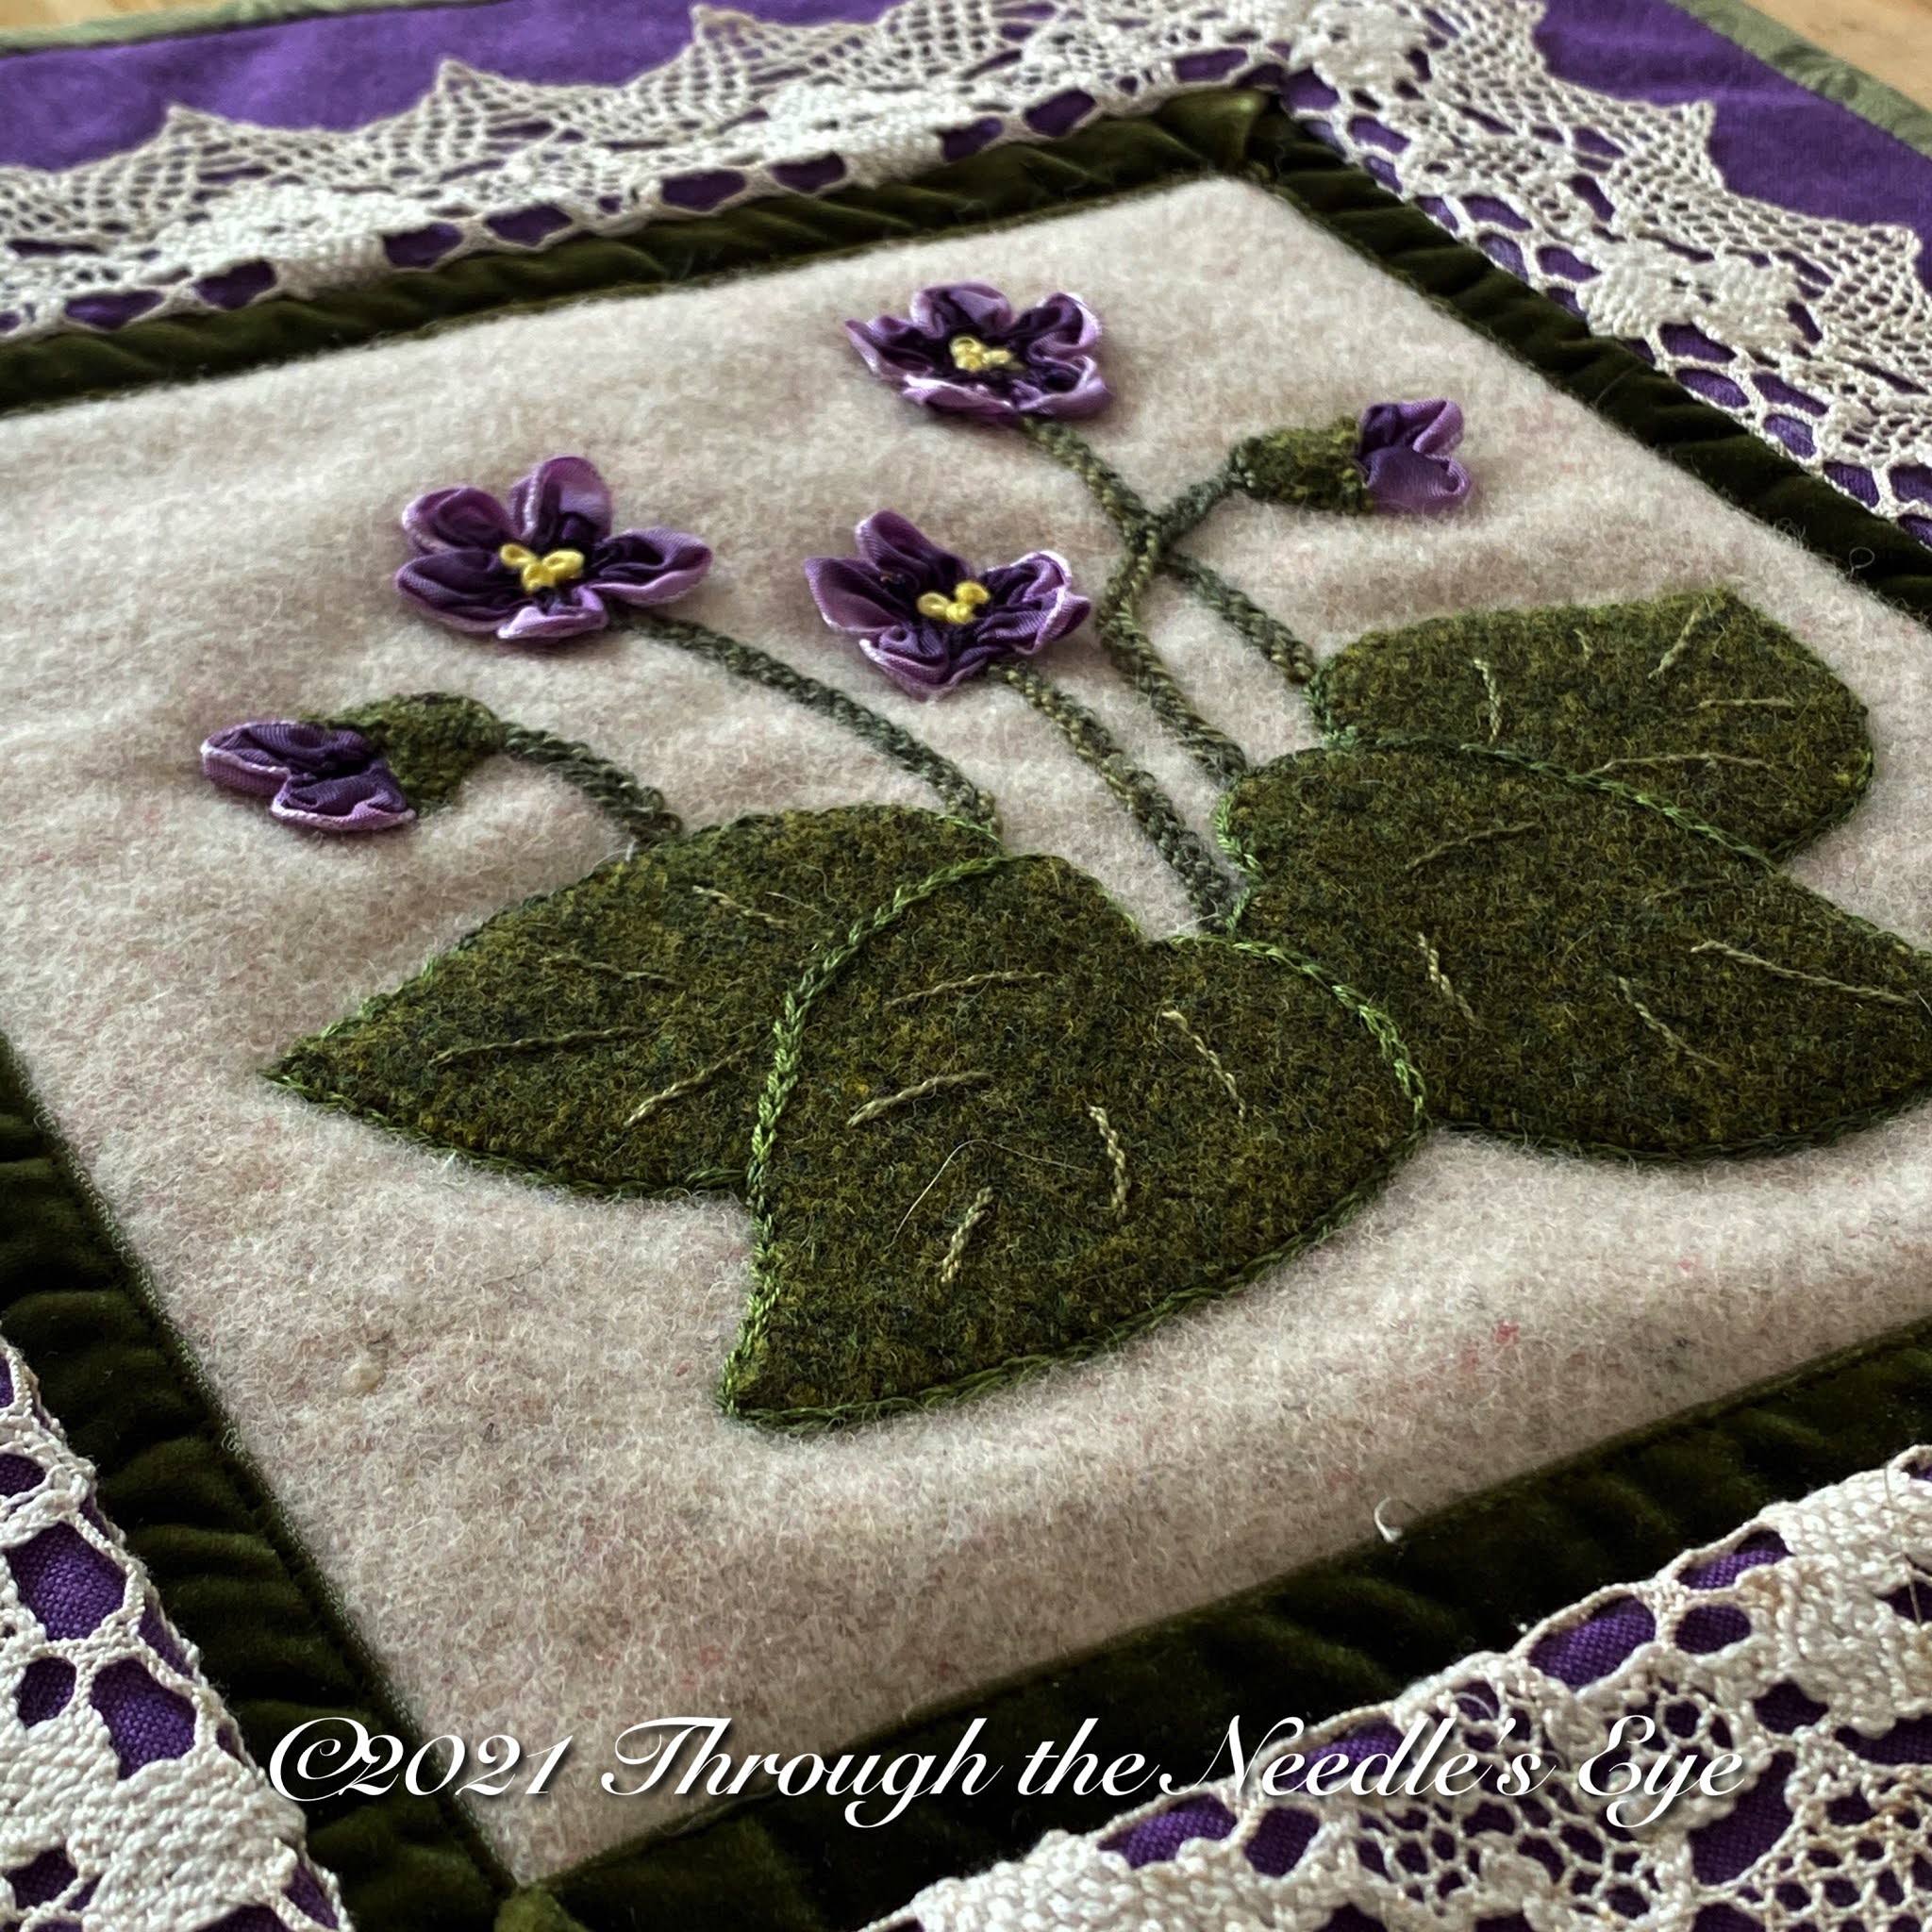
At least you can, if you use ribbon! This month's Block of the Month in our In the Garden series will have you creating lovely violets out of wired ribbon. Are you ready? Here we go! I (Teri) will give you a quick pictorial tour of the methods used to create these life-like blooms, and then you will be ready to start "planting." In our class this past weekend, I heard several "I can't make that" comments become "Wow! I CAN make this flower!"
 |
| December BOM: Violets |
The Leaves
 |
| I cut the leaves out as one unit and delineated them with embroidery. You could, if you prefer, cut them and appliqué them as separate units. I staple them in place, and then carefully remove the staples after appliquéing. |
 |
| I used a Bohin chalk pencil to mark the lines between the leaves, The chalk shows up easily on the wool, and doesn't last. |
 |
| A chain stitch with two strands of floss outlines the individual leaves. On the edges, I took the needle from the background a tiny bit into the edge of the leaf, so that the chain "hugged" the raw edge. |
 |
| To make the two center leaves pop and appear closer, I used a lighter wool thread to do a chain stitch on top of the darker green floss chain stitch. Because the wool thread was a bit thinner, it nestled inside the previous chain. Veins are then added using a stem stitch; I used size 12 pearl cotton. |
The Flowers
 |
| Cut a piece of wired ribbon 5 1/2 inches long. Starting 1/4 inch from the edge, mark lines on the ribbon at 1-inch intervals. |
 |
| Along the first line, start at the bottom and do a running stitch by the line, and across the top, just under the wire. Use a thick or doubled thread for gathering. |
 |
| When you reach the next marked line, stitch down one side and up the other. Be sure that your thread overlaps the edge of the ribbon. Gather to create your first petal. |
 |
| Continue to do a running stitch and gather after each petal. |
 |
| After gathering all five petals, knot the thread but leave the needle and thread in place. |
 |
| Manipulate the petals into a flower shape, using the wires to shape the petals. |
 |
| Use your needle as a tool to pull the center of the petals together. Take some large stitches to secure the flower center. |
 |
| Don't worry if it doesn't look perfect; the center knots will be added later. |
 |
| Use tack stitches to secure the blooms to the background, stitching in the gathers of the flowers with matching thread. The buds are created with two "petals" rather than five. |
The Stems
 |
| A pekinese stitch was used to create the stems. I used a size 5 pearl cotton to make a nice thick stem. First, mark the stem lines and do a back stitch. |
 |
| The thread is then woven on top of the piece through the backstitches. For a great tutorial of the pekinese stitch, click here. |
We are having such fun creating these designs, and we hope you will join us on our BOM gardening journey. All patterns are available in our website store (https://www.needleseyestories.com/shop), and the ribbon is included with the pattern for those with ribbon blooms. Both digital and hard copy patterns are available, although to get the ribbon, you need to order a hard copy. (Like you couldn't guess that we wouldn't send you digital ribbon!) 😄
Happy stitching—let's make some violets!!

To read about the other blocks in our In the Garden series, click on the links below.
No comments:
Post a Comment