Showing posts sorted by relevance for query sewing room. Sort by date Show all posts

Thursday, September 14, 2017

From Chaos to Order

I (Teri) am a person of piles—piles of papers, piles of "to do" items, piles of projects. It is a rule in our house: Don't mess with my piles! My right-brained system of organization depends on seeing something in order to remember to complete the task involved. Mail that needs to be answered goes on a pile. It may be an inch deep, but I know where it is. (In all honesty, this was probably one of the hardest things my husband had to learn about me, as he is just the opposite. It's true what they say about those attractions.)
When we moved this summer, part of the dream of our new home was a roomy space to house my studio. I actually had a fairly large room in our other house, but as you will see, my "stuff" exceeded my ability to keep it organized. Who are we kidding; I just didn't stay on top of it! Every now and then, it would even get to be more than I could handle, and I would do a total overhaul. But not often enough. With some trepidation, I will share a peek of my OLD sewing room mess, so you can see where I started.


My cutting table and sewing cabinet are piled with projects—at least three different things
I was working on at the time. Not very neat piles, either!

A dresser full of fabric, baskets of supplies and unfinished projects,
a suitcase full of quilts for a lecture, and bags of class materials

Needless to say, I rarely worked at this desk! 

The closet housed two book shelves, one shelf for books, and the rest for fabric.
Attempts were made to organize by color, which would last until I started pulling fabric for a new project.

Packing up that mess was my biggest job in preparing to move. I organized as I packed, did a bit of purging (not much!), and vowed to maintain some physical sense of order in my new studio. We were able to determine how the room would be designed, so I really would have no excuses, and my husband, an organization guru, was all about helping me to get the room in order. Maybe it was because he would be sharing the room with me; he has his office in one corner of the room. Whatever his driving force—helpfulness or self-preservation—his help was much appreciated. (I have a gem, for sure!)

It took me two months to get to a functional point, and I still have a way to go, but what a delight to have room for everything to have a place. Oh, and it's pretty awesome to know where everything is when I need it! 

You can see I have at least twice the area now, so no excuses. Now that I've shared my embarrassing mess, perhaps you will be my accountability in staying organized. ☺

Here is a short tour of my new space. The view on the left is from the doorway at the top of the stairs.


The sewing part of my studio—I love my Martelli cutting table!

That beat-up oak dresser got a coat (or three) of chalk paint and now houses vintage treasures, like embroidery and doilies, as well as batting, flannels, and muslin. Atop is an organizer holding charm packs, ribbons, and miscellaneous necessities.
The bin, bottom right, holds my quilt hoop and some UFOs that I plan to finish: in clear view as a reminder to work on them!

My favorite part is this peg board, inspired by Jan Vaine and her sister, Jo Cridge, from Graham Cracker Collection.
It is perfect for organizing my embroidery threads and ribbons, so they are in clear view when I am matching materials for a new block. What an advantage to have it all in front of me. Well, maybe not all, but a lot of it! On the bookshelf to the right are several bins of threads that didn't lend themselves to being hung, like Valdani and DMC.

Another ancient book shelf that I rejuvenated with chalk paint holds buttons, pin cushions, light box, and boxes of patterns.

My cutting table butts up to my sewing table. I have tons of light, but I always add a few more Ott lights in critical locations. One can never have too much light! In the nook in the corner, I have a table and chairs, where I can plan projects, sit and appliqué, assemble kits, or whatever. The table currently holds a pile of quilts that need to be hung. The back wall is a design wall, and hooks on the wall hold my project bags.

My specially requested twelve-foot closet is a dream! All those wire baskets that had been out in the room before are now behind doors. And lined, so things don't fall through the wire. With the extra room, we got another short set to stack, so I didn't have to stuff them to overflowing.

My husband was sure that it would be better for me to have shelves than to use the old bookshelves for fabric, so he installed eight-foot shelving and lined them for my stash. We have no secrets about the quantity of materials I "need."
Did I mention that I married a real gem?

Baskets hold silks, wool, mailing envelopes, ribbon, fancy fabrics, and hand-dyes.
The plastic drawers to the right of the baskets have scraps, organized by color.

We had a built-in desk installed for our computers. I still haven't discovered the box that holds my keyboard, so I've been solely using my laptop. We haven't yet hung all our artwork, but we adorned one wall with some of our old record albums.

And here is my gem, working in his office. I wasn't kidding when I stated that he would have a corner of the room for his office space. Wasn't I generous to give him so much room? Just kidding. I'm sure you've guessed who the generous one is!


I am learning that when my surfaces are not filled with piles, they are far more useful. Like when you get a phone call asking about cutting lace for tables at a wedding reception. How nice not to have to spend a half hour moving piles. Now, I can hide them in that twelve-foot closet!! 

Kidding, again. I hope...


Thursday, March 31, 2022

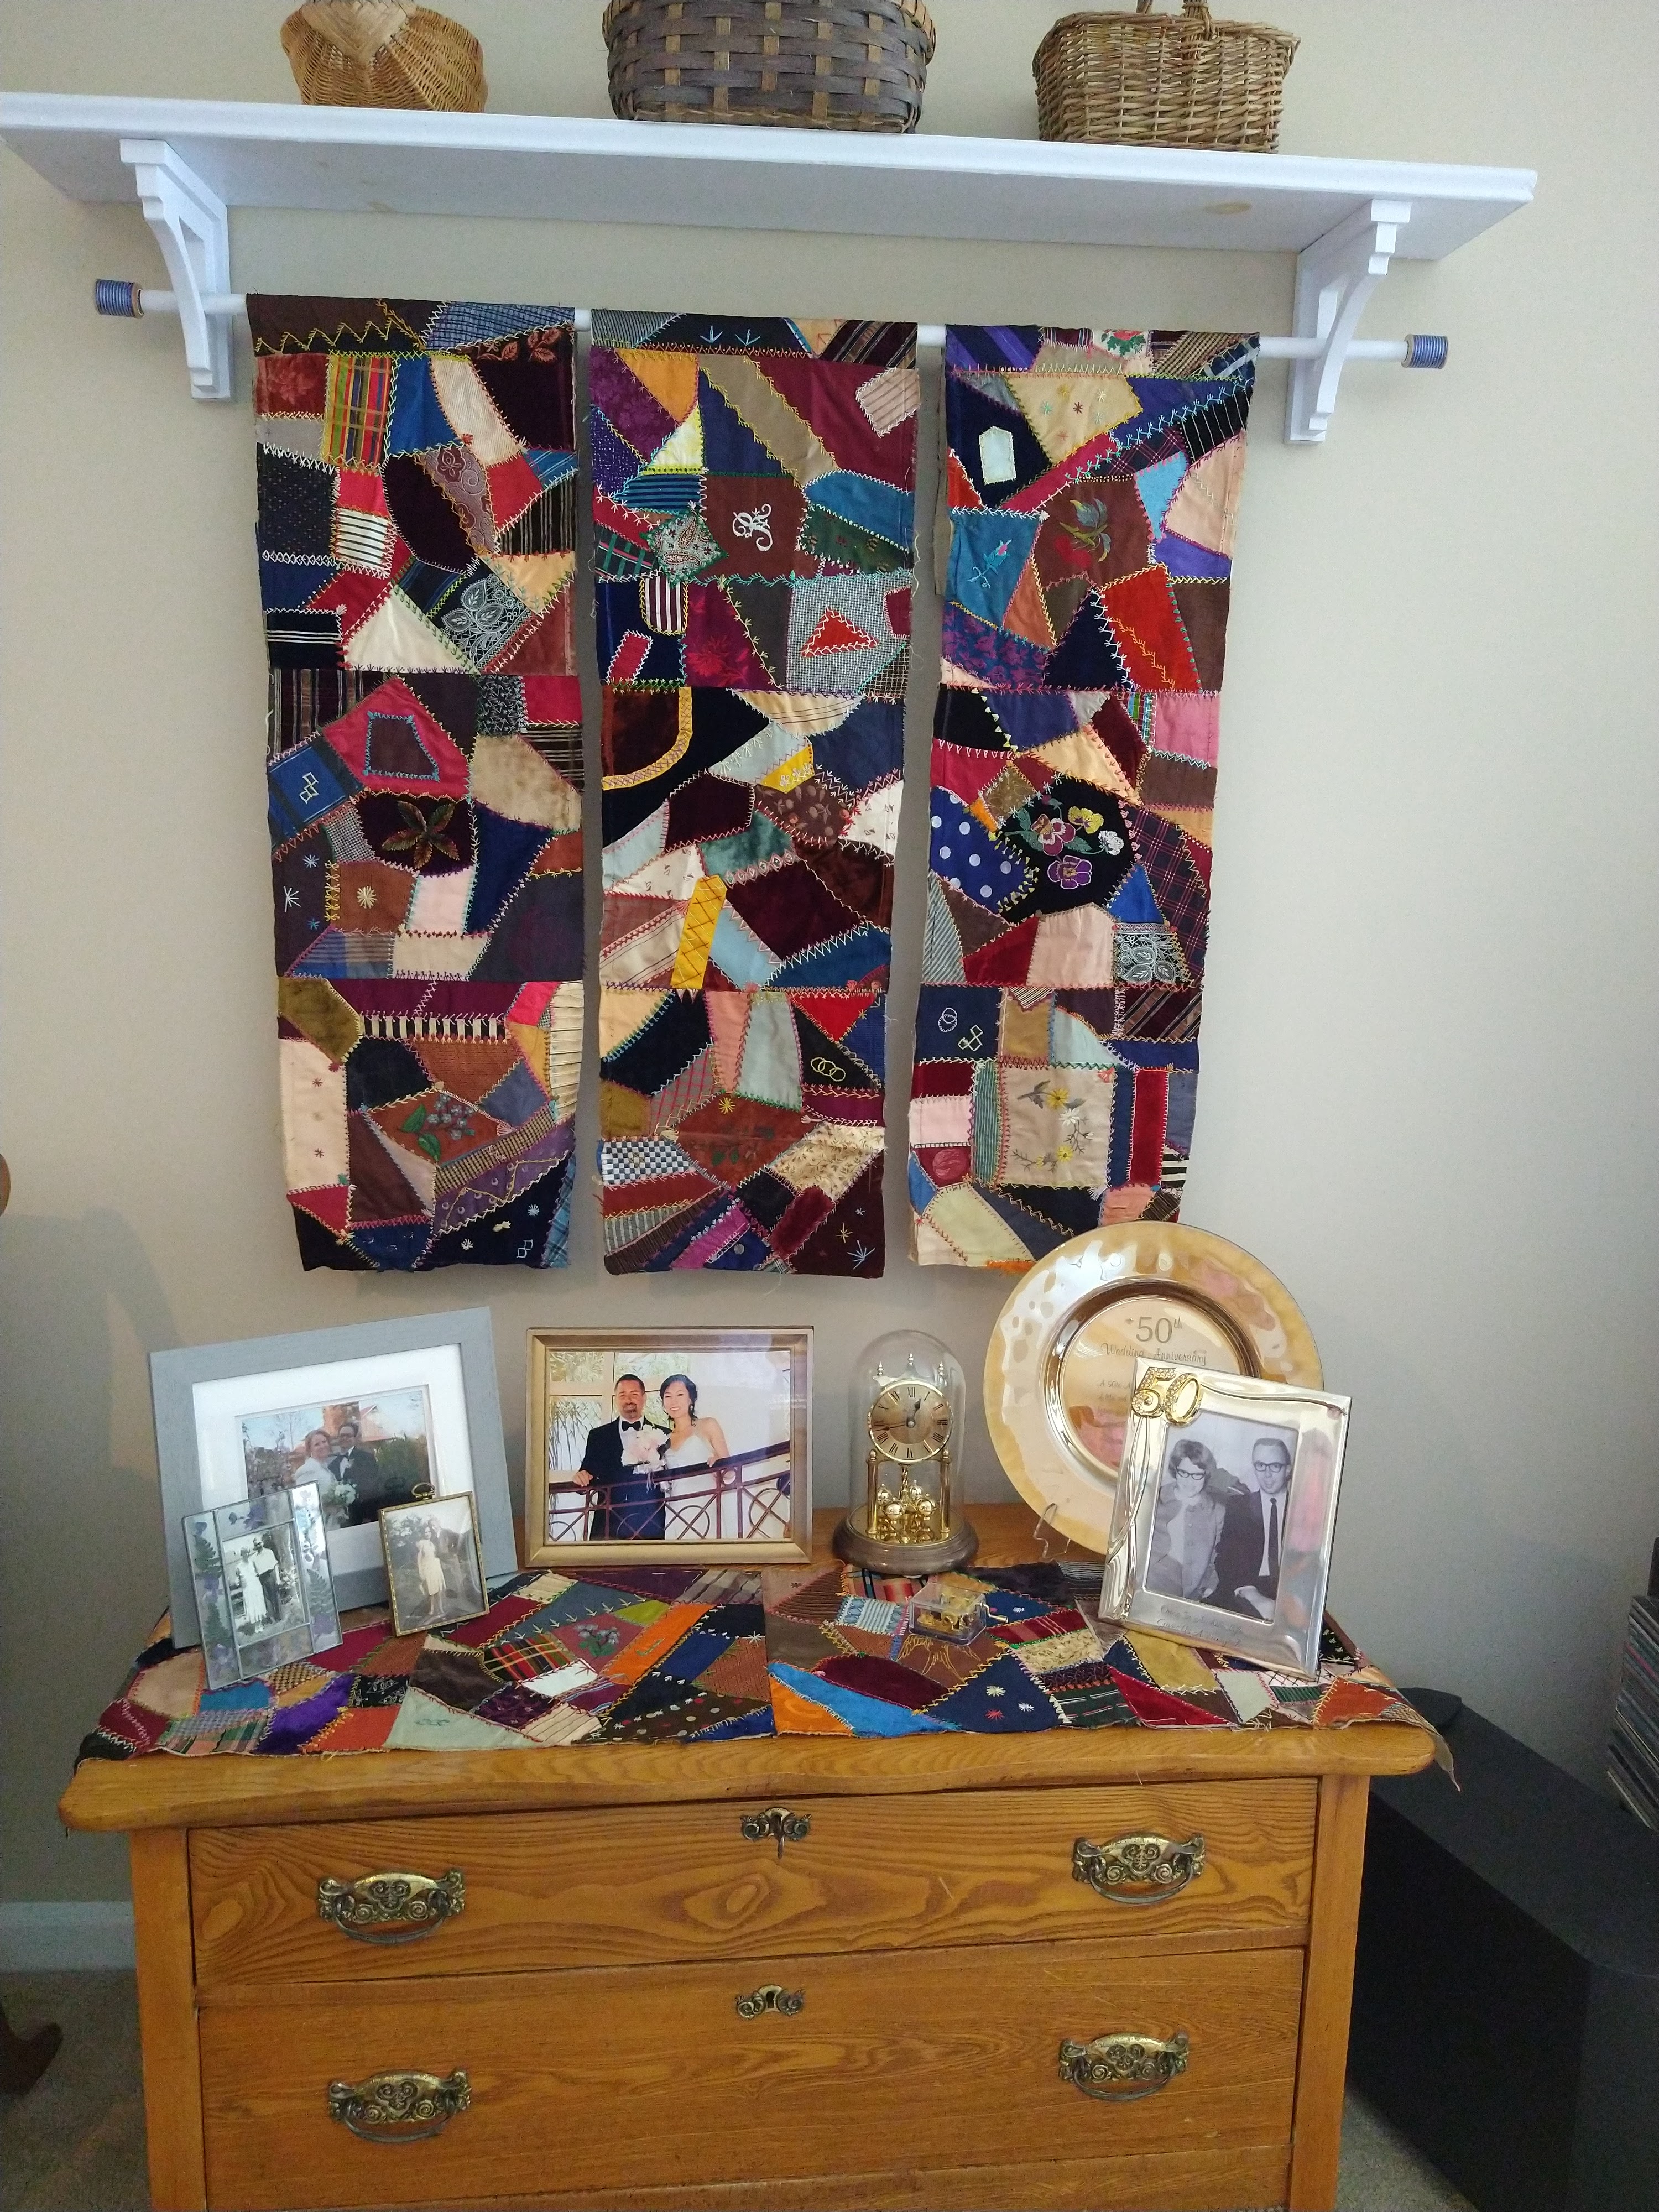
A "Crazy" Story


When we first started our blog and set up our Through the Needle's Eye website, our hope was to invite others with stories of their quilts to share. In fact, on the home page of our website, there is a form asking you to share stories you may have about your treasures. We were absolutely delighted to receive this email a few weeks ago from Kathleen Barden. Her story was so fascinating that we asked her permission to share it with you. She has kindly accepted our invitation, and thrilled us further by sending pictures. Thank you, Kathleen! And readers—enjoy!!

🧵🧵🧵🧵🧵🧵🧵

The end of the story is that I have three exquisitely embroidered crazy quilt panels with four 12.5-inch blocks in each panel. Plus another four-block panel that lacks embroidery over the joined block seams. Plus eight more 12.5-inch embroidered crazy quilt blocks waiting to be sewn together. Plus two 21-inch blocks with some embroidery and theorem painting in the centers. I believe the blocks may date back to late Victorian times. I'm looking for information about how to honor the history of these blocks while creating a finished quilt. 

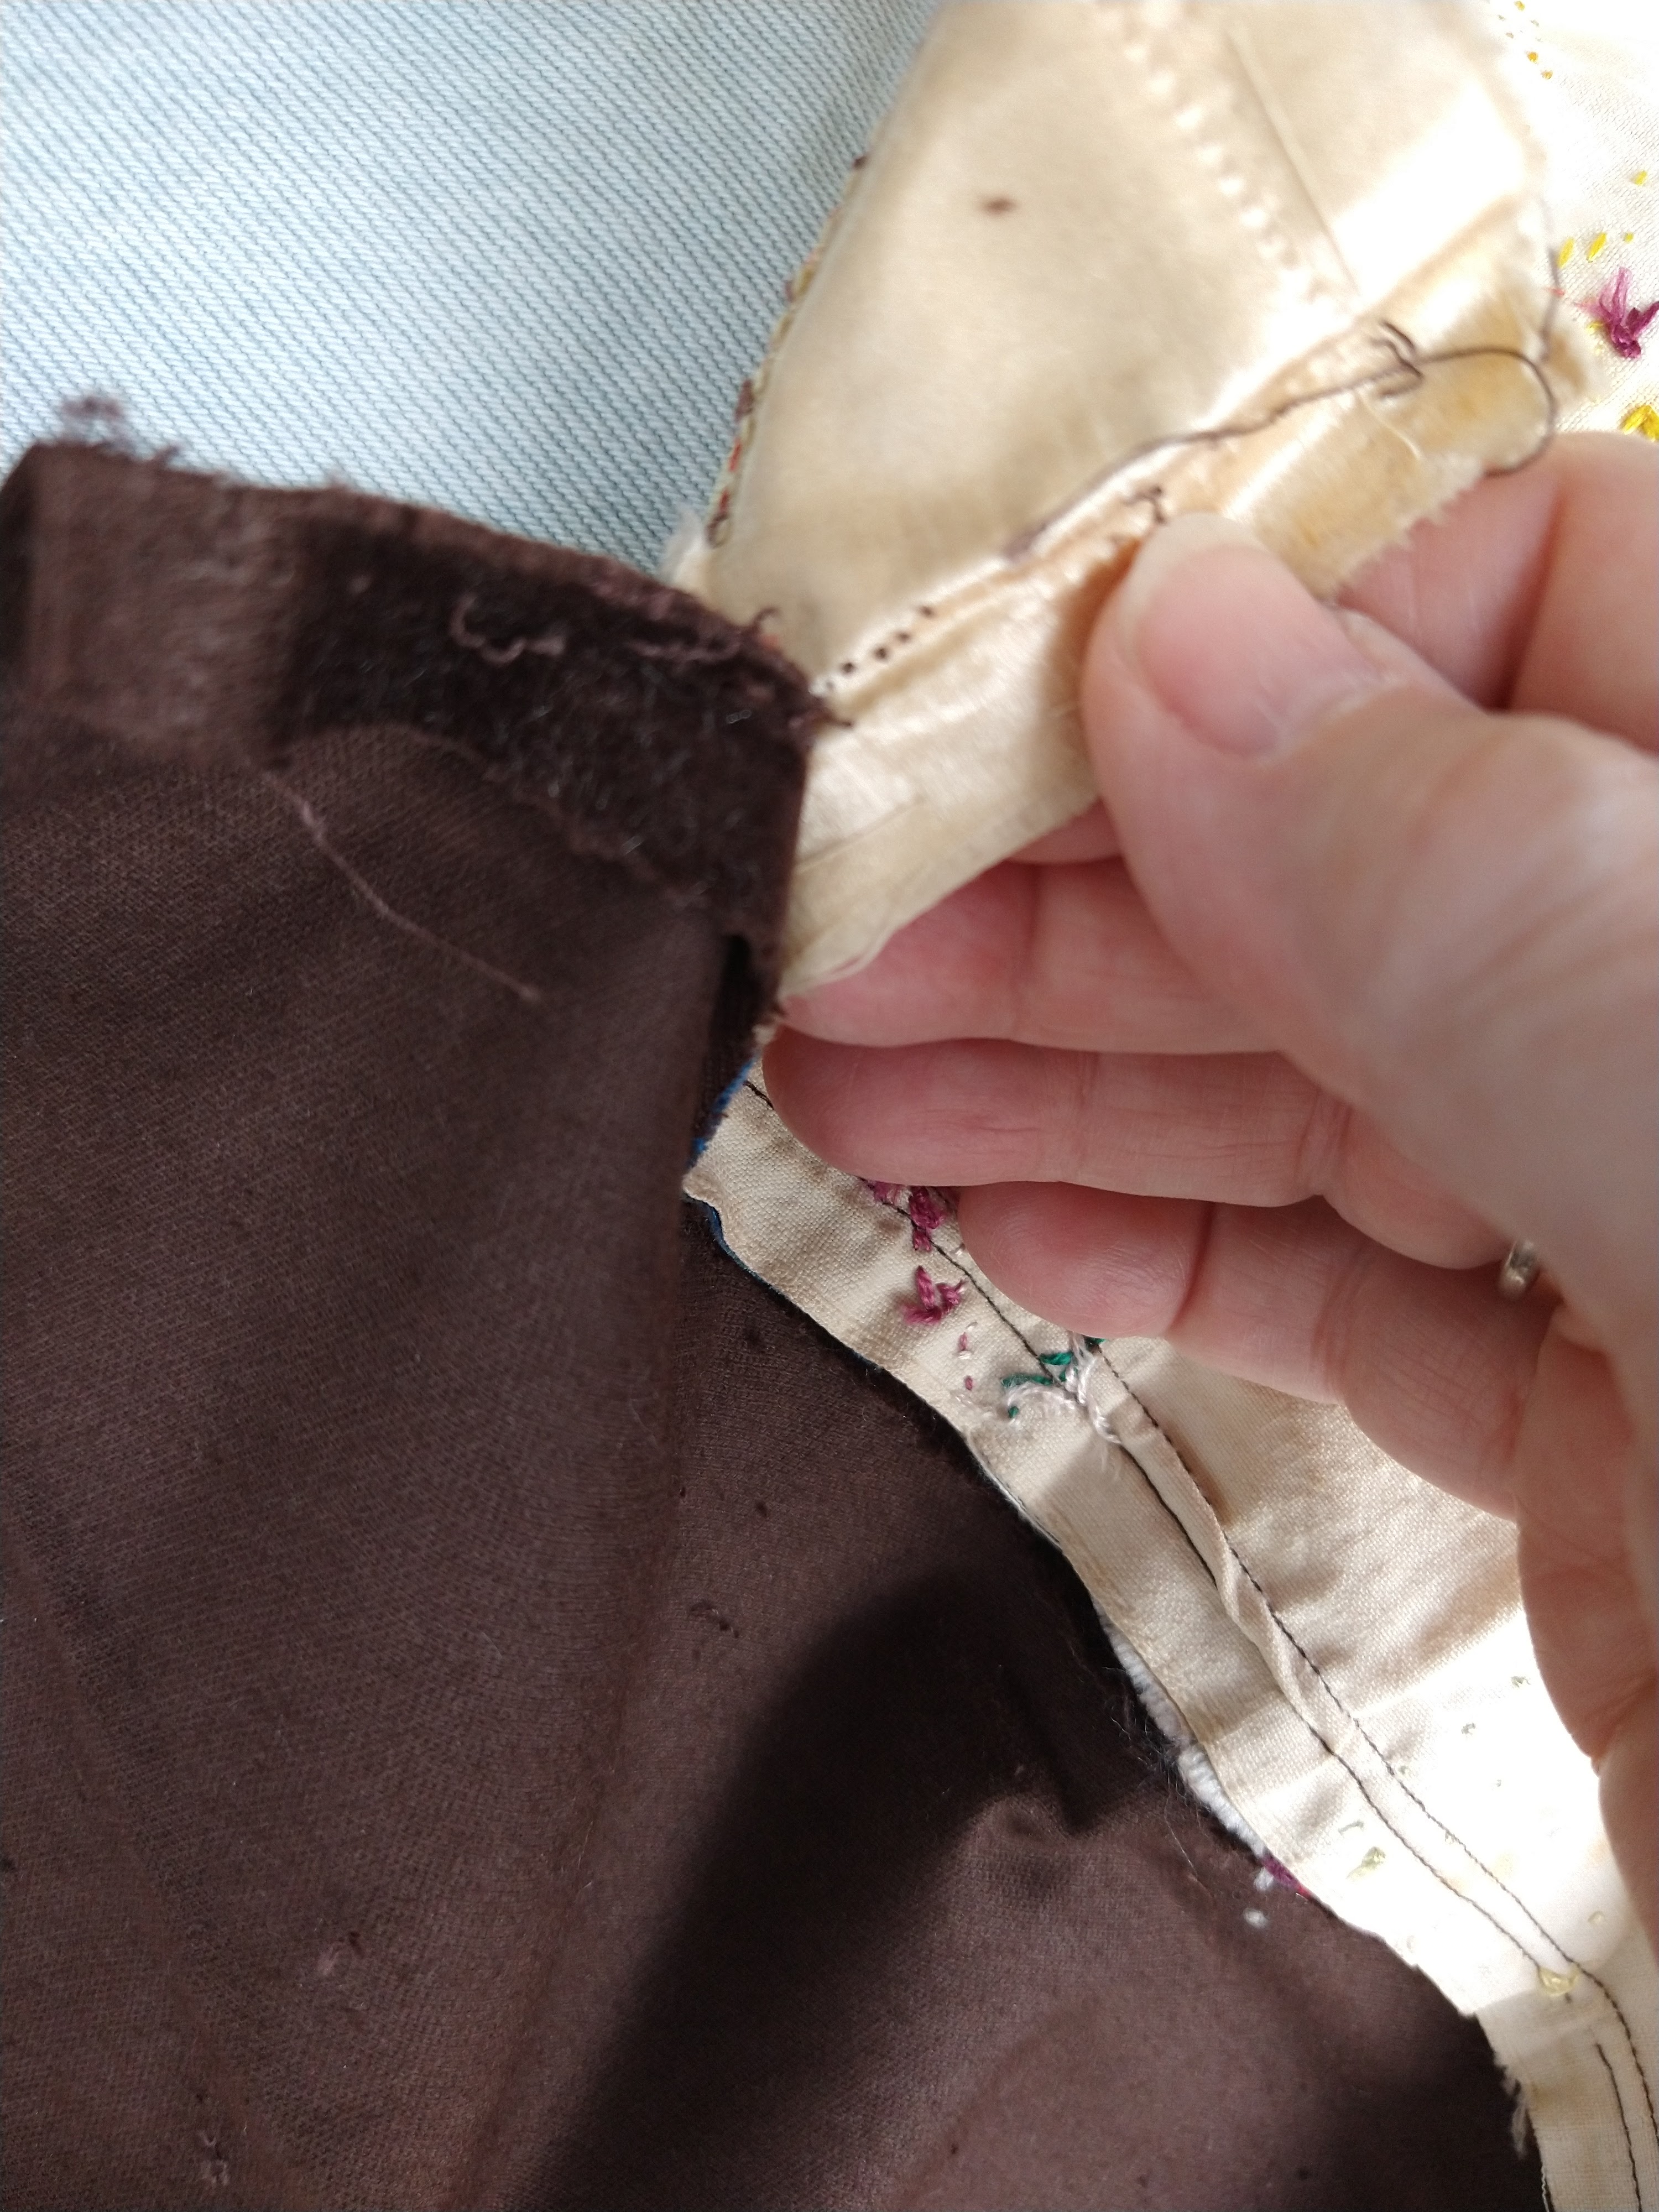
The middle of the story is that I have already spent approximately 15 hours removing the three intact, completed panels from a brown Velveteen dress made in the late 60's and worn in a high school student play. She was an excellent seamstress, making fashion forward clothing until a few weeks before she died. 

The beginning of the story is that, for helping a friend downsize her sewing room, she gave me three boxes of her favorite fabrics. She had owned an upscale fabric shop in an exclusive suburban area from the early 1960s to the mid 1990s. As I was in the midst of packing to move as well, I sealed, then labeled the boxes and put them with the others to be moved to my new guest/sewing room. Recently, anticipating overnight guests, I have been cleaning up my sewing room. Stored under the bed were those three boxes. One box contains her favorite blue and white batiks from her travels in Indonesia. Another box is full of glorious yards of jewel-toned silks, satins, taffetas, and velvets. The third box held that dress she'd made for her daughter from parts of a crazy quilt, and all the rest of the intact, leftover crazy quilt blocks. The next chapter is mine to write/sew.


Here are some pictures you might like to use, along with my story. 


One of the lessons learned from all my efforts with this project to date is the critical importance of documentation for everything I do and create. I had a habit of labeling my "really good stuff." Henceforth, everything is getting labeled!


Just in the last two weeks, I "unearthed" an address for one of my benefactor's daughters. She informed me that, also in the mid 1960s, her Mom made a brown velveteen skirt and a vest with crazy quilt blocks for her younger sister. Neither can remember what happened to those garments. They both believe that their Mom either won the blocks in an auction or purchased them in an antique store. Although their Mom had the ability, neither remember her adding any embroidery of her own to the blocks. 

I am more reluctant than I was, to add any details of my own; keeping all that I have original to that talented woman whose name I shall never know but whose work I want to honor. It's becoming an awesome responsibility to own these beautiful pieces of another woman's history. I'm thrilled that her lovely work will live on and be appreciated well after she is gone.

Thank you. I look forward to reading the comments that your followers will add and to learning more about crazy quilting in general.

 ~by Kathleen B. Barden


🧵🧵🧵🧵🧵🧵🧵

If anyone has any information or suggestions for Kathleen as to how she can "honor the history of these blocks while creating a finished quilt," please give her some feedback in the comments below. We would all appreciate any suggestions you might have. Again, many thanks to Kathleen for sharing her story with us all; hopefully, our group effort here can offer her some ideas about how to preserve these treasures.

Thursday, September 3, 2015

Pincushion Potential

The pincushion. An item in the sewing room that used to be strictly utilitarian and plain in appearance. (I [Kara] think of the traditional tomato pincushion here.) However, in recent times the lowly pincushion has been elevated from just being functional to a stylish, creative, decorative, item that graces not just our sewing rooms but can be used as a part of any room's decor.


As a former seamstress (see Out With the Old and in with the New), my tomato pincushion was my right-hand gal, and I'd go into panic mode if my assistant cat knocked it somewhere into the messy depths of my sewing room. It's still downstairs next to my sewing machine, ready to fulfill its duty for that time that I come out of seamstress retirement, or for when I can get some time to do some quilt piecing.


 But now my assistants are these two gems:


They sit beside me at my kitchen table where I do most of my stitching now. The flower pincushion was made this past April at Jan Vaine's Tea and Stitches Retreat, and the crazy quilt one was given to me by Teri at our last Appliqué Academy.

A couple of months ago, our friend Jo brought a craft to do during our weekly stitch time. It was a pincushion made from a bottle cap. I was hooked after making the first one and proceeded to scour my house for bottle caps.


Without realizing it, I now had a pincushion collection and began to think that I really needed to add to it. I had also been seeing a lot of creative pincushion ideas on Pinterest and different blogs that I followed. Combine that with my love of all things vintage, and I now had another collection: items for "potential" pincushions. My thrift store wanderings took on a different mission as I viewed the housewares aisle as a place to find future pincushions.

Here are a few of my recent finds:

The sugar bowl top will hide the pincushion and the bottom will be storage
 Won't these look lovely as pincushions with some vintage trims?
This basket will have new life with some wool for a pincushion top
Hidden storage and a pincushion
This brass acorn used to be a lighter 


A bee-themed pincushion with storage
So what to do with all this potential? I think each item will lend itself to a certain decorative flair and I've gathered a few items that I think will work for the new purpose these pieces will have. Antique quilt blocks, doilies, and velvet will make beautiful decorative tops, and this sari silk ribbon will certainly be used somewhere.


Add in some vintage-style trims, beads, lace and silk and I've already found so many options for creating some beautiful yet functional works of art.

Do you have a pincushion collection or have you transformed any unconventional items into pincushions? Stay tuned to see how these treasures find new lives as pincushions, and check out our "Pins and Needles" Pinterest board for inspiration to add to your own collection!

Thursday, September 3, 2020

I Can't Believe I Organized the Whole Room!

I (Teri) have spent the last two weeks touching every single item that is housed in this room. Determination to conquer the chaos and tame the mess took control of me, and I'm happy to say it paid off nicely. Here is a tour of my new space, which I actually enjoy working in now!

Welcome!

I'm embarrassed to share this photo from January, when I made it a goal to clean and organize. Yes, it really WAS that bad!!

I started in the closet, refolding every piece of fabric to size and organizing by color and type of fabric: homespun, batik, wool, and cotton.

I had boxes of these scrumptious hand-dyed wools that needed room on the shelves!

I cut old cardboard bolts in half to put between the stacks of fabric for stability.

Plastic trays, 10"x16", were perfect for fat quarters, also arranged by color and stacked on top of each other.

The other side of the closet has baskets filled with ribbon, more wool, and packing materials. Scraps were sorted and put in the drawers on the right by color. 

Wool by color
Ribbon by type

A drawer of silk and velvet
And one of wired ribbon


I got this adorable clock a couple of years ago, but my room was in such disarray that I never got it hung. It is now ticking happily above the closets.

Past the closets, I have hooks to hang tote bags, a design wall, organization cubbies filled with various tools, and a new book shelf for patterns.

I flipped my sewing table around and put drawers beneath. One has files and cards, and the other is filled with threads and needles.

One of said drawers with threads assorted by type: wool, chenille, pearl #8 and #12

Beyond the sewing machine is the ironing board. The bookshelf houses resource books and teaching notebooks. And pictures of my kids...

My pegboard wall is filled with all kinds of threads and ribbons, arranged by size and kind of thread. The idea is that if I can see it, I am more likely to remember that I have it when creating a new design.

Ribbon racks and drawers of threads for selling in classes. Oh, and my Martelli light box is always on hand for prepping blocks to stitch. (Email us if you want to purchase one of these gems: we have some available!)

The dresser is filled with vintage linens, batting, flannel, and a few UFOs. It is topped with more cubbies filled with teaching tools.

Sitting at my machine, looking out the window. Rulers are arranged by size.

The cutting table is to the right of my sewing table. I used mugs to arrange my markers, pens/marking tools, pencils, and scissors.

I have used my Martelli cutting table so much that I thought I might have to replace the mat. Imagine my delight when I remembered that it is reversible, so I just had to flip the mat over and start afresh. 

On the end of the cutting table is a pegboard stand that my husband made, where I hang patterns and kits that are ready to be mailed. 

This table, which belonged to my grandmother, used to sit in the corner, piled with projects. Now it is in the middle of the room, where I can sit to make kits or fill orders, or just stitch. 

So if you are ever feeling overwhelmed and discouraged about cleaning out and organizing your sewing space, just picture my before and after—and you'll KNOW that it could probably be worse. Mine sure was awful!! 

But it feels wonderful now. 😃


~~~~~~~~~~~~~~~~~~~~~~~~~~~~~

A Reminder!!

Registration for the Academy of Appliqué in Williamsburg, VA, opens on Monday at noon. That's Labor Day. September 7, 2020. We would love to build some houses with you!! For registration info, click here.

Village Wanderings: Homes