Showing posts with label atarashii. Show all posts

Thursday, July 27, 2017

An Adventure With Atarashii

At a recent Black Forest Quilt Guild meeting, I (Kara) was fascinated with one of the show and tell quilts. It was made using Atarashii, or Japanese folded patchwork. (You can see pictures of the quilt here.) The method creates a block or part of the block, complete with patchwork, if desired, and batting; similar to a quilt-as-you-go process. I had a hard time finding information about it when I initially looked into it, but I have found some resources that I will share later in the post. 

Since I was so intrigued by this method, I thought I'd give it a try. Then I realized I didn't have any fabric or batting handy (my stash is apparently still on the boat). Luckily, my friend Birgit's shop is only a block away, and she had a book I could borrow on Atarashii. Off I went to pick up the book and a few fat quarters.

Birgit's Book about Atarashii.

As this was an experiment to see if I liked this method, this post isn't necessarily a tutorial. For a detailed tutorial, you can check here. This is a great tutorial from Jill at the Quilt Rat, and I liked the way she offered many different variations of a classic cathedral window, which is closely related to Atarashii. One of the variations reminded me of a flower, so that was what I chose to do. I used the book to trace my patterns, as I wanted to make sure I had the proportions correct. The book is written in Japanese, but the patterns were easy to trace and there were quite a few pictures to help with the process. I had to be a bit resourceful, making do with what I had—notebook paper to trace with and an Ikea box for the cardboard—but I was determined to make it work. I assembled all my parts and got started. 

All my parts ready to go


I started by piecing my circle.

Drawing my 1/4" seam allowance helped me stitch accurately


My finished 3 1/4" circle


Once I was finished with the circle, it was time to put gathering stitches, near the edge. 


Ready to gather.

I had cut a cardboard circle, 2 5/8" to use as a gathering template and then proceeded to pull on my gathering stitches so that the edges wrapped around the cardboard. Once it was gathered to my liking, I pressed it to hold the edge and then removed the cardboard.

My pressed circle before removing the cardboard.

In order for my "leaves" to align correctly, I folded the circle in half, matching the green edges. I then finger pressed the fold.

Matching the green.
Finger pressing the center fold.

I then opened up the fold and marked, with a small mark on the top and bottom.

Note the small marks at the top and bottom of the circle.

The marks allowed me to align my 1 3/4-inch square cardboard template.


Aligned and ready to press

I then pressed the edges of the circle over the cardboard.

Pressed edges with cardboard removed.

I prepared my center insert by stitching a 1 3/4" square, consisting of one 1" x 1 1/4" rectangle and one 1" x 1 3/4" rectangle of white, and one 1 1/4" square of coral. I put a few French knots on the coral and stitched a green stem using a chain stitch from the coral to the point.

Adding details.

Now the fun part as the flower appears! I put a 1 1/4" square of batting, and then my patchwork square in the center of my folded circle.

Please just pretend that patchwork square has the embroidery on it.

Then I folded my edges over and pinned them.

Ready to stitch!

I worked my way around the edges with a small appliqué stitch, starting at one corner.


A finished block

Just one in this size would be a cute little ornament, but I wanted to see what patterns I could create if I had four of them. So I made 3 more.

One version


A different placement


And one more

I settled on the first version and proceeded to attach the four parts in the same way I would if I were English paper piecing.

Stitching them together

My finished piece!

This is just one variation of many that can be done with this basic method. The variety comes from varying the pieced colors of the circle and the square. You can see a lot of different variations here. I will say that I think this method would be easier using larger pieces—I will admit to having to press a couple of pieces into square submission! However, I do think this would be a fun method to pre-prep and take on the go. Let us know if you've tried Atarashii or Japanese folded patchwork and how you liked it. As always, we'd love to hear from you!

Thursday, July 6, 2017

Welcome to Germany: Quilter's Style


The sum total of my stitching choices while I wait
for my sewing room to arrive.
As we told you in our post "Going Global," I (Kara) have moved to Germany! We found out that we would be moving here last October—two days before Teri and I left for Quilt Market in Houston. I waited to tell Teri that it was official until we had arrived at our hotel, and she was sitting down with coffee in hand (wine would have been better, but it was only ten in the morning). She took the news well, and we proceeded to enjoy all the wonder that is Quilt Market and Quilt Festival. I was told so many times in that week, "You had better stock up on fabric, because it is so expensive in Europe." So for that week and up until we left, I took those words as a personal challenge and built up my stash. My stash is currently on a boat, working its way to me, and unfortunately, I don't expect to see it until the beginning of August. I did pack my Academy of Appliqué 2018 block, a crazy quilt project, and an English paper piecing project, but that is all the "quilty" stuff I have.

We have been living in a hotel for about three weeks now, and while stitching on the above projects is fun, I was definitely craving some quilter companionship. Thankfully, the Black Forest Quilt Guild had their monthly meeting the last Friday in June. My new friends—Birgit, Lisa, and Becky (thank you Facebook)—let me know the place and time and off I went to the meeting, driving by myself for the first time.

The guild meeting is held monthly in a community center very near our hotel. I was a bit early, but I was warmly greeted by those who were there. The guild, almost 20 years old, is made up of ID card holders (military and civilian) from the Stuttgart area, as well as residents of the greater Stuttgart area. 

A view of the library table

A beautiful hall to host the guild meeting

The guild began with a little business first, and then a lovely program about traveling with various quilt projects. The speaker brought quite a few handy items—such as bags, tools, patterns for bags, and many tips and tricks. 

The speaker (on the right) sharing some of her quilting travel trips.
Because this is a German/American guild, both languages are represented,
so this presentation was given in English and interpreted in German.

Then some of the members showed their favorite quilt projects for travel. One project that someone brought was a quilt done in the Japanese fabric folding method, atarashii. I had never seen this method before, and it is a bit difficult to find much about it on the web, but it is beautiful and very portable. You can see some tutorials here and here, but you must use Google translate, unless you are fluent in German. I was fascinated by this method and can't wait to give it a try.

I love the color choices!


Demonstrating some of the prep work.

Sharing this method's portability.
Each piece is quilted individually, so there is no need for quilting once
all the pieces are connected.

After the presentation and a break, it was time for Show and Tell. The quilts that members showed varied in size, style, and method, but they were all wonderful. I didn't get pictures of all but here are a few. Note: While the hall was beautiful, the lighting was not the best for taking pictures.

As part of the travel theme, members were asked to bring quilts,
 if they had them, about travel. 

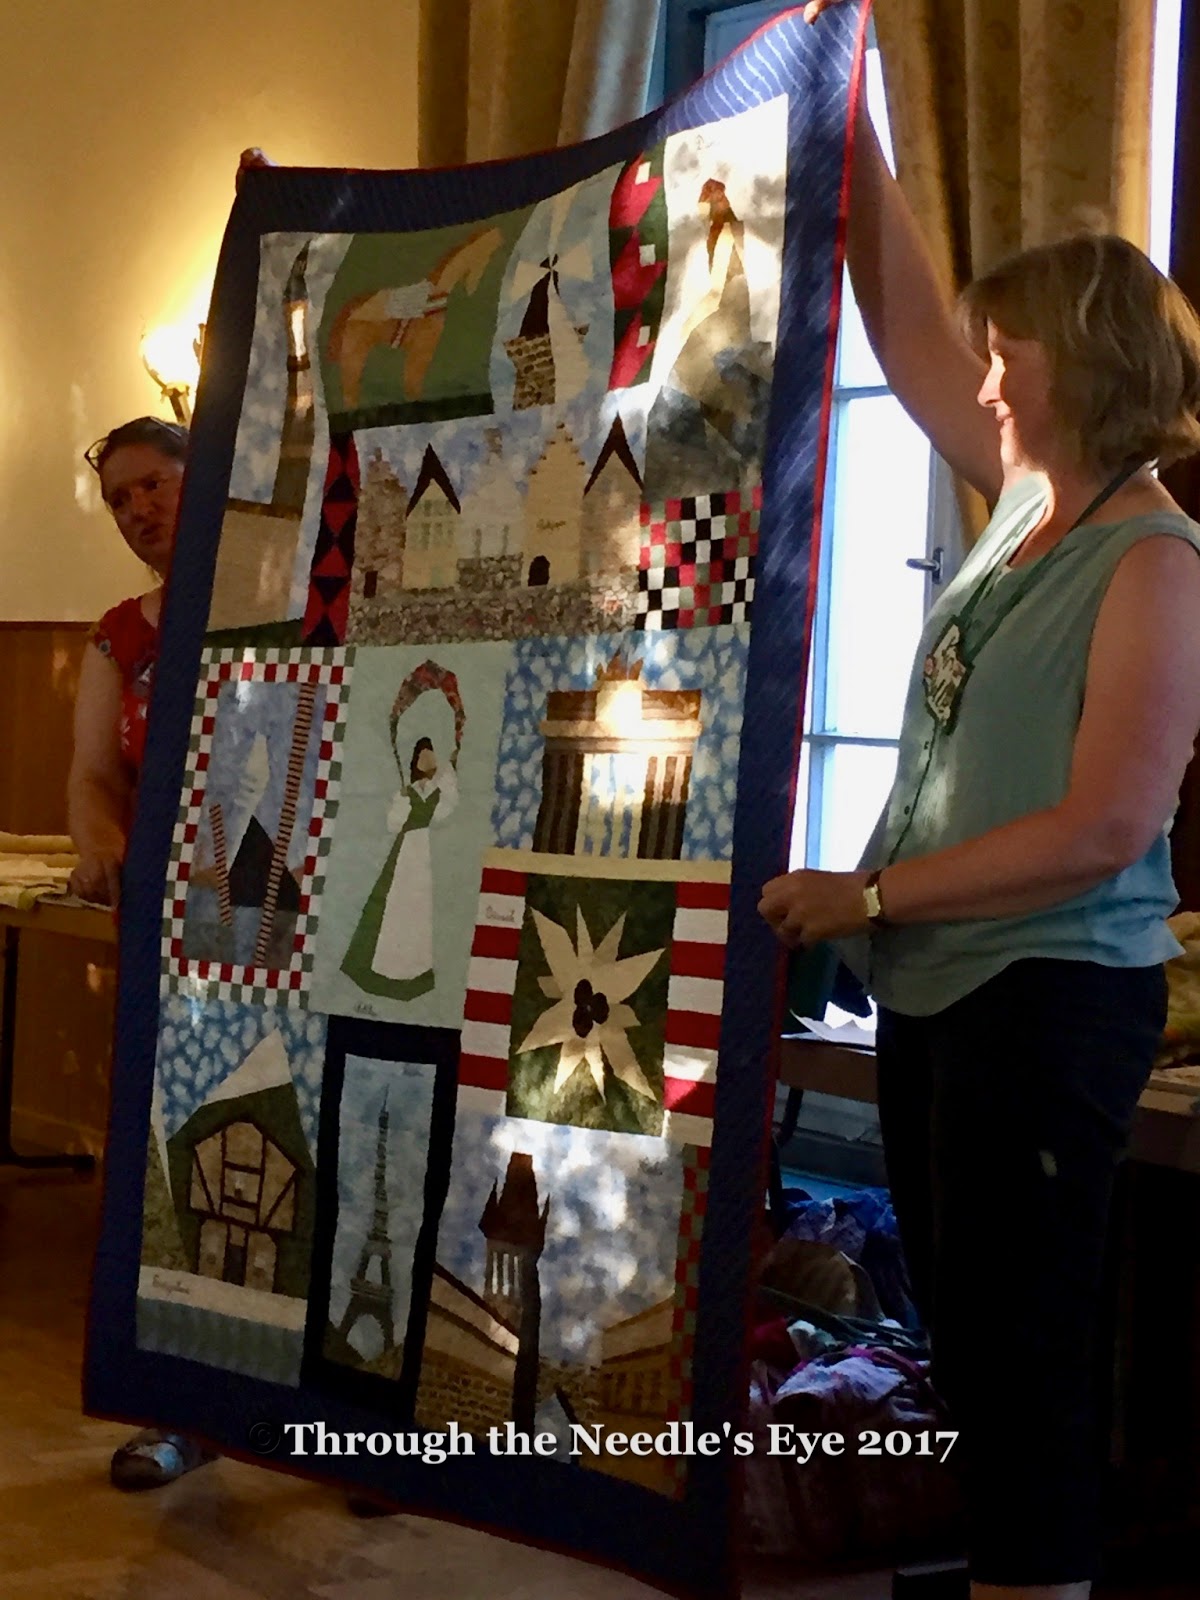
This quilt with mini campers was adorable.

Many of the places visited during this quilter's time in Germany,
are represented in this quilt.

This quilt represents a visit to the northern part of the U.S.

Another gorgeous quilt highlighting places that were visited. 

This beautiful quilt was made from different shirtings.

A T-shirt quilt made for her husband.

This quilt was made for a close friend. Wouldn't you be thrilled to receive this?!

My new friend Birgit and a child's quilt she made.

She cut out and quilted some of the individual
panels to create a memory game.

The green in this quilt started life as a tablecloth.

A sweet child's quilt, lovingly made.

This quilt is stunning in person!!

A patchwork garden

A beautifully done Bonnie Hunter pattern.


This guild does two different block of the month projects each month. Those who want to participate, make the block for that month—either modern or traditional—and then they have a chance to win all the blocks. 

The traditional June BOM.

The modern June BOM.

Someday, when my ship comes in (meaning the boat that is carrying my sewing machine), I will definitely take part in these fun blocks and all the other exciting activities this guild offers. They even let you ask for a block to be made by fellow members, to commemorate a birthday, farewell, or other special event. One lady asked for a birthday block, and passed out materials and guidelines for the block. I will share more on that in another post.

The Black Forest Quilt Guild has been one of the most welcoming guilds that I have been privileged to attend. It proves my theory that quilters are some of the nicest people, no matter where you are in the world. I am looking forward to jumping right in with both feet and a sewing needle! Hopefully you have enjoyed reading about a guild on this side of the world, and if you have a special story about your guild, please let us know!