Showing posts with label quilting. Show all posts

Thursday, October 14, 2021

Road Trip!

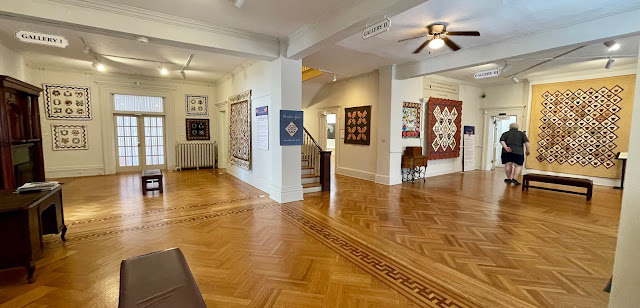
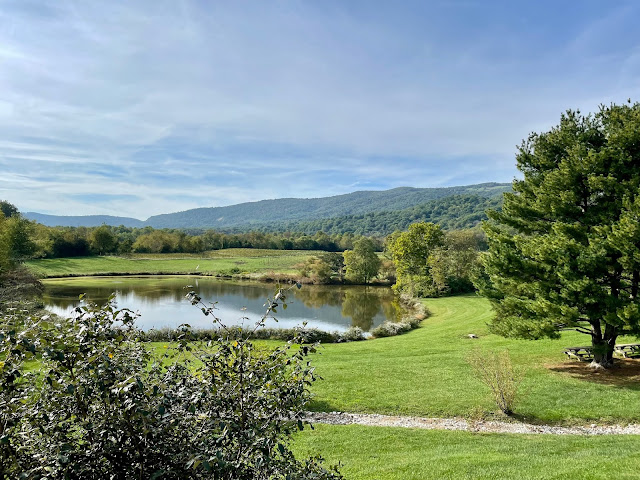
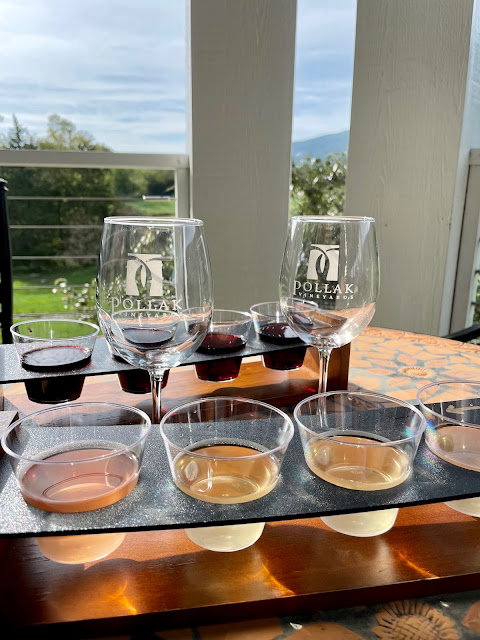
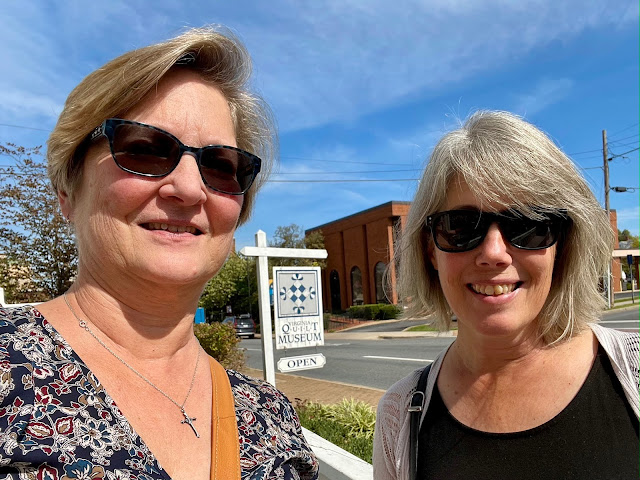
Teri and I (Kara) are off on our first road-trip together since I came home from Germany and we decided to make the most of it—a stop at the Virginia Quilt Museum, an antique mall stroll, and a quick visit to a local winery. We will be teaching our Village Wanderings—Shops this weekend at the Charlottesville Area Quilters Guild and we can't wait! 


See you next week and hope you have as much fun this weekend as we will!


Thursday, May 7, 2020

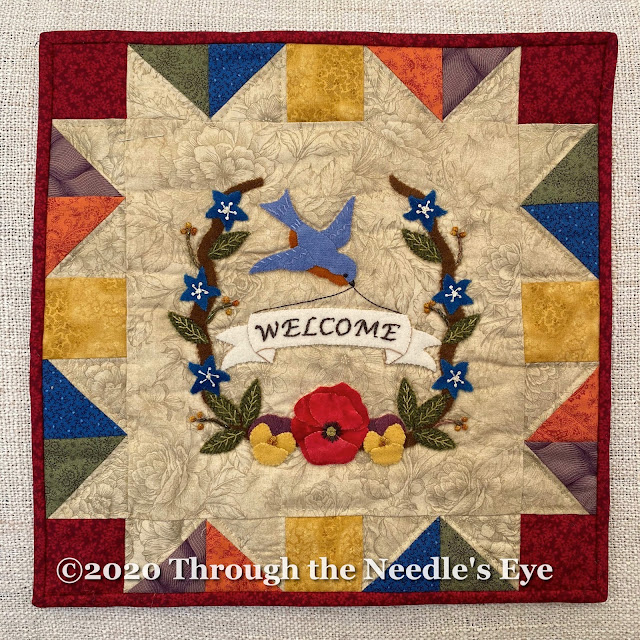
Updated: Hopeful Bluebird Stitch Along—Week 3

Updated: We have enjoyed our Hopeful Bluebird Stitch Along! While the pattern for this lovely wall hanging is no longer available for free, it is available in our web store. It's never too late to join our Facebook group where we have been inspired by all the beautiful work that has been shared.

No deadlines...just jump right in! 

And just like that, we are on our last week of this Stitch Along. We hope everyone is having fun and enjoying making this block. This week, we will work on the bluebird and finish up the embroidery. Also included will be the directions to piece the border and turn it into a wallhanging. 

Here we go!

The bluebird has four pieces that are positioned with the right wing first, the breast next, then the body, and finally the left wing.


Ready to be stitched down.

Once you have stitched your bluebird down, it's time to bring him to life with a little embroidery.


If desired, mark the eye and beak.

With 4 strands of black floss, make a French knot for the eye.
With 3 strands of dark grey floss, make 3 straight stitches for the beak.

Straight, stem, and fly stitches embellish our little bluebird.
Use one strand of dark grey or black floss to stem stitch the banner hanger.

The poppy center is created with a woven wheel stitch using #8 green pearl cotton. I used the same color for this as I did for the fly stitches on the leaves. To make the center, start with 5 straight stitches arranged like a star as shown in the picture below.

Five straight stitches arranged in a star shape

Bring the needle up close to the center of the star, and between two stitches. Begin weaving the thread over and under the spokes, snugging them up closely. This works best if you use a tapestry needle because it doesn't have a sharp tip. If you don't have one, using the eye end of your needle will work as well. Continue going around until you can no longer see the spokes, and then take your needle to the back and tie off. (To see a video of this stitch, go to Mary Corbet's video HERE.) 

The finished woven wheel center.

With 2 strands of black or dark grey floss, surround the woven wheel with straight stitches to complete your poppy.

The poppy is all done!

To stitch the word "welcome", I used the Press and Seal™ plastic wrap method. The Press and Seal™ has one side that is sticky and adheres slightly to the wool. If you don't have access to this product, tissue paper works as well. Start off by tearing a piece of the plastic wrap and position it over the word "welcome". Then take a sharpie or gel pen and trace over the words. I used a white gel pen, as that is my go-to product for marking most everything.

Plastic wrap positioned over the pattern

Once your words are traced, center the plastic wrap on your banner and pin. 

Ready to stitch!

To stitch the words, I used a dark grey #8 pearl cotton, but 3 strands of dark grey floss would work as well. I used a chain stitch for the thicker parts of the letters and a stem stitch for the thinner parts. Stitching through the plastic takes a little bit of getting used to, but this method allows you to use many different fonts for your stitched letters. 

Once you are finished stitching, carefully remove the plastic wrap by holding your finger down on the embroidery and then tearing it off. Use a pair of pointed tweezers to get the small bits out.

These Martelli tweezers are great for removing the tiny pieces.

The finished lettering!

The link for the border directions is below, and hopefully you will find them easy to follow. This was the first time that I had big-stitch quilted anything and I loved it! I used Valdani #12 in a shade that blended with my background. First I quilted around the block, and then quilted in the border about an eighth of an inch away from the seam—this accented the secondary star that formed by using the background fabric in the border.
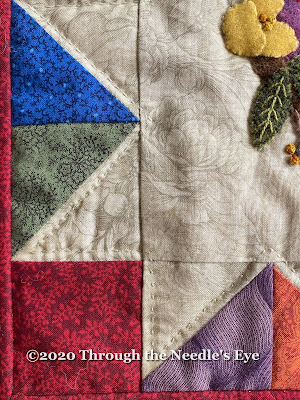
Big stitch quilting around the border
Squares all ready to go for the border


All quilted and bound!

I chose to turn this block into a wallhanging, but you may have other ideas for yours, and we would love to hear what those plans are! 

We hope you have had fun on our first ever stitch along, and we hope to do more of these in the future. The pattern and the instructions will be free on the blog for the next month, and we will keep the Facebook group open so you can share your progress and finished blocks with everyone. Sharing your work is encouraging for your fellow stitchers, and it is great to see the different color palettes everyone chooses. 

It is hard to keep our distance from the people we love, but hopefully it won't be long until we can welcome our friends and family back into our homes—this wallhanging will be hanging on our door waiting for that day!


Hopeful Bluebird Week 3
Hopeful Bluebird Border Directions
Thursday, April 16, 2020

Quaranstitching: West of the Atlantic (With a Mask Tutorial!)

Last week, Kara shared what she's been working on east of the Atlantic during our Stay at Home time, both stitching and otherwise. Today, it is my turn to share the "quaranstitching" projects under my needles. At this point, I have several things going at once, so depending on how energetic I'm feeling, I can choose to be creative, or just stitch without much thought—enjoying the sheer process of the needle, thread, and fabric coming together.

My first project (after I did some organizing in my sewing studio) was to work on another block from our Woodland Reverie quilt. Before leaving for the Academy, I had stitched the blue frames and the stems; I was just beginning the process of fussy cutting the leaves while I was in Williamsburg. Color selection is always the most enjoyable—albeit occasionally daunting—part of the process. This block experienced many possible iterations before I settled on this palette. The whole personality of a block can change with different color choices, which makes this project so much fun, especially with the light and dark backgrounds.

My final block, with a limited number of colors

Kara's more colorful version: I love the way each flower has a subtle reference to the colors of another bloom, pulling out the orange and purples.


Next on my list of stitching to-dos was to prepare my Baltimore Fraktur quilt top for hand quilting. The center block of this wall hanging is one of our classes at Baltimore on the Prairie in September. Wool is a challenge to quilt, so I planned to use big stitches with pearl cotton. 


I used a wool batt and pin-basted the layers together. In the center, I used a neutral thread (Valdani pearl #12) and quilted around the appliquéd elements. For the pinwheel blocks, I am using a Painters Threads hand-dyed pearl #12 to echo the seam lines. I wasn't sure if I would like it, so it was a chance to take, but it I am enjoying the process. As I make more progress, I think I even like the result. A good thing, as I'm not sure with the thicker thread that I could turn back now!


Progress


Mask-making had been on my mind, as our local hospital requested that the local chapter of the Embroiderers' Guild of America make cotton masks for donation. They gave us a specific pattern to follow, which looked pretty simple to make. Click here for the pattern I used. I found a couple packages of elastic, so I spent a day going through my batik stash (a finely woven cotton) and making a bunch of masks. By the end of the day, my family members had claimed most of the ones I made, with special requests for the grandchildren, as well. A few Star Wars masks may have made the pile...

Not bad for a day's work!

 If you haven't found a pattern yet, here is a quick visual of my process:

Cut two pieces at 6"x9".

Sew around the edge, inserting elastic (per instructions),
leaving an opening for turning.

Turn and press. 


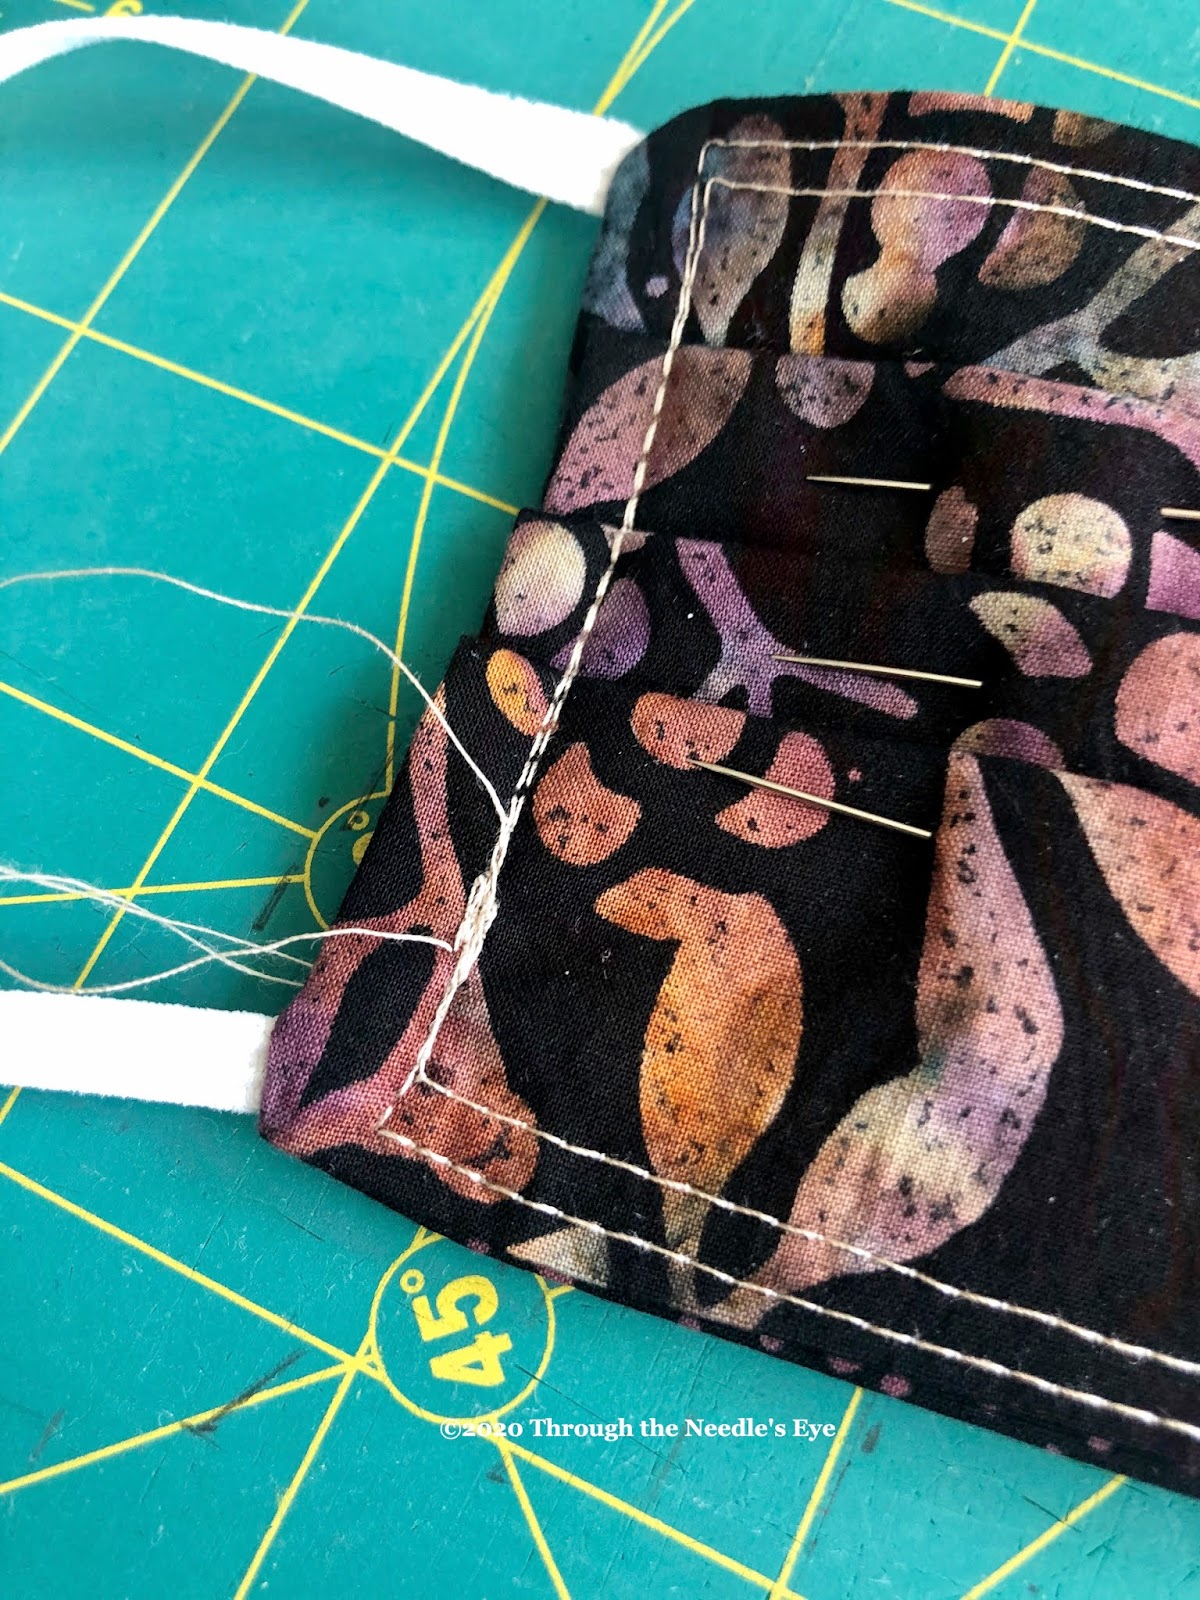
Make three pleats; pin.

Lock stitch, needle down. I started on a side and stitched 1/4-inch from the edge.

Stitch around the piece. On the top and bottom, I stitched about 1/8-inch from the edge to be sure I caught and closed the opening for turning the mask.

Stitch a second time around, reinforcing the 1/4" on the sides to be sure elastic is secure, . . .

. . . and continuing at 1/4-inch on the top and bottom.

Lock stitch and trim. 

Use different fabrics so there is an inside and outside, a revelation I had after I made the first 20 masks. These can be laundered, preferably in hot water. 


When I was in Williamsburg, I passed off my fairy tale redwork quilt top to longarm quilter Beth Filko. She worked some amazing magic on it! I received it this week and have already put on the hanging sleeve and binding. It is just waiting for me to hand stitch it down, and then you will see the big reveal. Can't wait!


And when I feel creatively energetic, I tackle this new wool appliqué project, which mixes a variety of fun textures. Inspiration? An old cupboard from Alsace! One advantage to our tiny company of two being separated by an ocean is the abundance of influences for our designs. 


I can honestly say that we have cooked more meals and washed more dishes this past month than we have in years. My husband typically is the cook in our household, but I have even had to step in and give him a break. We do miss being served our food, but I'm not going to lie: we have had few pizzas as good as this one my hubby made on the grill. When he gets creative in the kitchen, it is not a bad thing!


And it is springtime, so there's the garden!

What about you? What are you spending your quaranstitching time doing? New projects? Finishing old ones? Or project hopping, like I am? Please share in the comments on the blog!


Postscript: I may have just received an order of 600 yards of elastic cording which I am hoping will work for more masks. My son tells me his friends are coveting his Star Wars mask, so I suppose there will be a few more of those under my needle. I have thus far made 30 masks, which have all been claimed by family members and neighbors. I think I'll be making masks for a couple of days, so some can be passed on to the hospital. What a great way to help others and bust a bit of my stash.

Thursday, April 9, 2020

Quaran"stitching" and other Stay at Home Activities

No matter where we are in the world, "Stay at Home" has become the new normal. Six months ago, we had no idea that this pandemic would change our lives so dramatically. Many of us are making the best of it, with activities that we might not have had time for before. Teri and I (Kara) thought we would share some of the things we are doing to stay at home and out of trouble.

My quilt guild, The Black Forest Quilters, began a mystery quilt a few months ago. I decided that I would take a break from hand-stitching and make friends with my machine again. I was a few clues behind, but was determined to finish. Mystery quilts are a little bit of a risk when you begin, because it is a lot of work for something you may not like but I trusted the organizer to pick a good pattern. I was very happy with the quilt, and it used up a lot of brights that I had languishing in my stash. Mysteries can be fun!

Charm Shuffle, by Gudrun Erla
Stripology Mixology

The finished quilt top

After vacationing at my machine, it was time to get to work on some upcoming deadlines. One of those deadlines was to get started on a new set of blocks for our Village Wanderings Series

Picking ribbon colors

It's always fun to create, and these blocks were no exception. I even decided to play around with some miniature elements for a few of them.

Prepped to be stitched down.
Ready to be appliquéd.


Another miniature for one of the blocks.

While we are working on new projects, we are continuing to make progress on our Woodland Reverie quilt. Teri and I each pick a block, finish it, and then the other person makes that block in her colorway. It is fun to see how the same block looks different with another background and appliqué palette.

My version

Teri's version

When I made it home from the US about three weeks ago, I had no idea that things would escalate as quickly as they did. I went to the grocery store, stocked up on some things, and began stitching. Who knew that my next stitching project would be masks to wear in public places here in Germany.

When this is over maybe these will work as a bikini top!
The first ones cut out and ready to stitch.

The internet is full of wonderful free patterns right now, and I found this one and fell in love with it. It is called Plaid-ish, by Kitchen Table Quilting. I have been wanting to organize and use my scraps, and this seemed like a good project to motivate me to do so.

Yikes!

Organized by color and value. Next step is to trim them into manageable pieces.

This quilt takes a lot of time to cut, but the sewing is simple.

That has been the stitching done over here on this side of the pond, but as much as I would like to stitch all day, other things must be done–like grocery shopping. My wonderful husband did most of the shopping while I was quarantined. I gave him a list but was not as specific as I should have been, so when I wrote "smoked sausage", this is what came home:

We  are now well-stocked with smoked sausage.
It was a great choice because the sausage is quite tasty!

My wonderful daughter-in-law inspired me to try my hand at sourdough bread. I have never been successful at creating a perfect loaf, so that was my quest. Two days after starting, I achieved sourdough nirvana (slight over-exaggeration).

It's not perfect, but I'll take it.

That has been what has going on over here. Teri will share her "quaranstitching" adventures with you next week. In the meantime, we are working on a special mystery project that we will be offering to you all in the coming weeks. 

Stay healthy, stay home, and stay stitching!