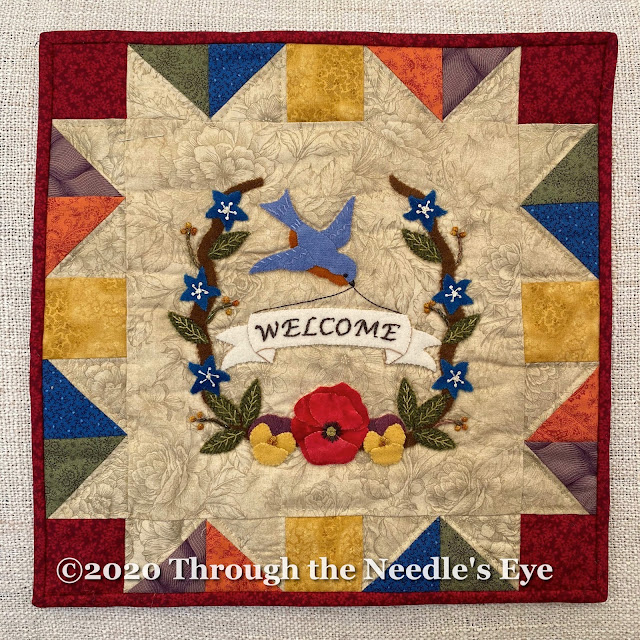
Updated: We have enjoyed our Hopeful Bluebird Stitch Along! While the pattern for this lovely wall hanging is no longer available for free, it is available in our web store. It's never too late to join our Facebook group where we have been inspired by all the beautiful work that has been shared.
No deadlines...just jump right in!
And just like that, we are on our last week of this Stitch Along. We hope everyone is having fun and enjoying making this block. This week, we will work on the bluebird and finish up the embroidery. Also included will be the directions to piece the border and turn it into a wallhanging.
Here we go!
The bluebird has four pieces that are positioned with the right wing first, the breast next, then the body, and finally the left wing.
 |
| Ready to be stitched down. |
Once you have stitched your bluebird down, it's time to bring him to life with a little embroidery.
 |
| If desired, mark the eye and beak. |
 |
| With 4 strands of black floss, make a French knot for the eye. With 3 strands of dark grey floss, make 3 straight stitches for the beak. |
 |
| Straight, stem, and fly stitches embellish our little bluebird. Use one strand of dark grey or black floss to stem stitch the banner hanger. |
The poppy center is created with a woven wheel stitch using #8 green pearl cotton. I used the same color for this as I did for the fly stitches on the leaves. To make the center, start with 5 straight stitches arranged like a star as shown in the picture below.
 |
| Five straight stitches arranged in a star shape |
Bring the needle up close to the center of the star, and between two stitches. Begin weaving the thread over and under the spokes, snugging them up closely. This works best if you use a tapestry needle because it doesn't have a sharp tip. If you don't have one, using the eye end of your needle will work as well. Continue going around until you can no longer see the spokes, and then take your needle to the back and tie off. (To see a video of this stitch, go to Mary Corbet's video HERE.)
 |
| The finished woven wheel center. |
With 2 strands of black or dark grey floss, surround the woven wheel with straight stitches to complete your poppy.
 |
| The poppy is all done! |
To stitch the word "welcome", I used the Press and Seal™ plastic wrap method. The Press and Seal™ has one side that is sticky and adheres slightly to the wool. If you don't have access to this product, tissue paper works as well. Start off by tearing a piece of the plastic wrap and position it over the word "welcome". Then take a sharpie or gel pen and trace over the words. I used a white gel pen, as that is my go-to product for marking most everything.
 |
| Plastic wrap positioned over the pattern |
Once your words are traced, center the plastic wrap on your banner and pin.
 |
| Ready to stitch! |
To stitch the words, I used a dark grey #8 pearl cotton, but 3 strands of dark grey floss would work as well. I used a chain stitch for the thicker parts of the letters and a stem stitch for the thinner parts. Stitching through the plastic takes a little bit of getting used to, but this method allows you to use many different fonts for your stitched letters.
Once you are finished stitching, carefully remove the plastic wrap by holding your finger down on the embroidery and then tearing it off. Use a pair of pointed tweezers to get the small bits out.
 |
| These Martelli tweezers are great for removing the tiny pieces. |
 |
| The finished lettering! |
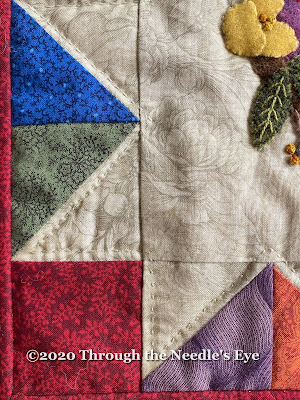
The link for the border directions is below, and hopefully you will find them easy to follow. This was the first time that I had big-stitch quilted anything and I loved it! I used Valdani #12 in a shade that blended with my background. First I quilted around the block, and then quilted in the border about an eighth of an inch away from the seam—this accented the secondary star that formed by using the background fabric in the border.
 |
| Big stitch quilting around the border |
 |
| Squares all ready to go for the border |
 |
| All quilted and bound! |
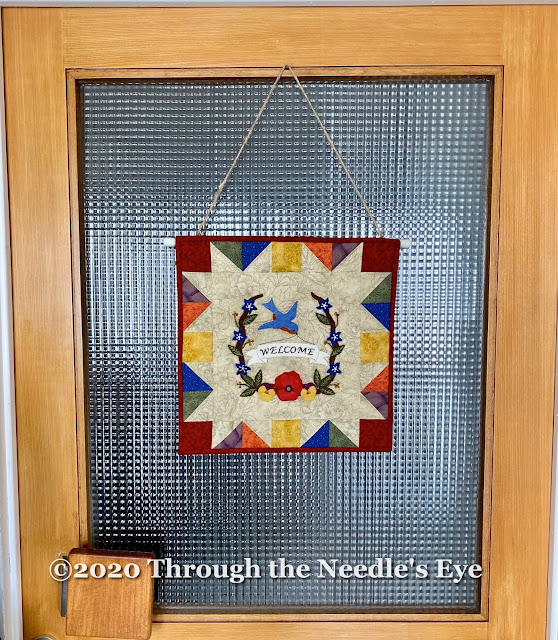
I chose to turn this block into a wallhanging, but you may have other ideas for yours, and we would love to hear what those plans are!
We hope you have had fun on our first ever stitch along, and we hope to do more of these in the future. The pattern and the instructions will be free on the blog for the next month, and we will keep the Facebook group open so you can share your progress and finished blocks with everyone. Sharing your work is encouraging for your fellow stitchers, and it is great to see the different color palettes everyone chooses.
It is hard to keep our distance from the people we love, but hopefully it won't be long until we can welcome our friends and family back into our homes—this wallhanging will be hanging on our door waiting for that day!
Hopeful Bluebird Week 3
Hopeful Bluebird Border Directions

So very sweet! Thanks for sharing! The bluebird of hope is what we all need right now.
ReplyDeleteBelated thanks Wendy and you are right!
DeleteThank You for the embroidery tips, they are very clear and helpful! And Thank You for such a sweet pattern!!
ReplyDeleteYou are welcome!
Delete