Thursday, July 13, 2017

Crazy Quilting by Numbers

As I (Kara) mentioned in last week's post, Welcome to Germany: Quilter's Style, buying fabric to pad my stash before leaving for Germany made up most of the purchases I made in Houston. But as Teri and I were wandering through the booths, we came upon Sew Cherished. What caught our eyes, were not just the beautiful wool and wool projects, but the crazy quilting stitches that were incorporated into many of the patterns. We explored the booth and came across what looked like crazy quilting stitch guides. I was intrigued and asked the shop owner, Dawn, for more information.


The complete set of Crazy Stitches (petite size)

The guides were sheets of sticky, water-soluble paper with about 7-10 different crazy quilt combination stitches printed on each page. You choose which stitch you would like, cut it from the paper, trim it to size, stick it on your seam, and then stitch. I thought they would be interesting to try and bought the petite set. I love crazy quilting and the fun of coming up with all sorts of combination stitches, but I thought these sheets had some potential for a variety of reasons. 

A couple of months ago, I pulled the Crazy Stitch sheets out and put a project together to see if I would like them. I had a bunch of wool suiting samples that someone had given me, so I put together a patchwork wool piece to test the papers out.

A rough layout

The squared-up piece serged and ready for stitching. (On a side note, I am going to really miss my serger!)

Once I had my practice piece together, I needed to pick out my floss colors. I have worked on a crazy quilt project using limited colors, and I have worked on another crazy quilt project with no limits on colors. Surprisingly enough, the project with unlimited colors was much more difficult—too many colors to choose from. Teri and I had just received the full spectrum of Weeks Dye Works, 6-stranded floss, so I knew that I would be choosing my limited color selection from their collection.

All the Weeks Dye Works colors.

My final color selection.

The papers look like this out of the package:

This particular sheet would be great for practicing the basic stitches.

One of the combination stitches.

I counted the number of seams I had in my piece and then went through the sheets and cut out all the stitches and combination stitches that I wanted to use.

The 16 stitches and combinations I picked out

After I had selected my stitches, I decided where I wanted to put my first line of stitching, cut the paper to the right size, peeled the backing paper off and aligned it on my seam. The papers are sticky and if my fabric had been anything other than wool, I think the paper would have stuck better. I used pins to hold the stitch paper in place for the stitch below. For some of the other seam stitches, I lightly dampened the ends once I had the paper in the right place, and the paper stuck to my fabric removing the need for pins. WARNING: don't dampen it so much so that it dissolves!

All ready to stitch!

I started out with a simple stitch and progressed to some of the combination stitches. My needle went through the paper and fabric easily, and I was able to create a neat and consistent stitch.

Sweet little flowers using a blanket stitch, lazy daisies, and French knots

My third and final pass for this combination stitch.

I think the Murphy's law of crazy quilt stitching is that you will always run out of thread right before you finish the seam stitch.

I just couldn't get two more French knots out of this piece of thread.

This product lived up to what I had envisioned as its potential. I still had to decide what stitch to put where and what colors to use, but I didn't have to look through books to pick a combination stitch I liked. I also didn't have to put the brain power into coming up with my own combination stitch, because sometimes I just don't wan't to think too hard. Dawn has done all the thinking for us with these stitch sheets. The paper washed out well, but make sure you soak it long enough to get all the residue out. Also, wait until your piece is completely dry before ironing. I got a little impatient and the ironing didn't do any favors to my stitching

Definitely one of my favorite combinations!

These arrows got a little wonky from my ironing.

I love how the red pops against the tonal wool!

Here are some pros and cons that I discovered with this product:

Pros:
  • These would be great for crazy quilters just starting out.
  • If you are feeling overwhelmed with combination stitch possibilities, these sheets figure the stitches out for you.
  • If you struggle with consistency in your stitch size and spacing, this will help your muscle memory.
  • Having these to use when you just don't want to think too hard about what stitch to use would be great.
Cons:
  • You have to get your project wet to wash out the paper, so your fabric, threads, and/or ribbon need to be colorfast.

You can purchase the Crazy Stitches sheets directly from Dawn's site, Sew Cherished, here. Type "Crazy Stitches" in the search bar at the top, and I'm sure if you have any questions about the product, Dawn would be able to answer them. 

This sampler probably won't be finished for a little while, because the Williamsburg Academy of Appliqué sample due date is coming soon. (We can't wait to show you our international flair blocks!) My plan will be to finish the rest of the seam stitches, and then possibly put a few wool appliqué designs from our upcoming wool block of the month on a few of the larger squares. Have you tried any new stitching products lately? If so, please share what they are and why you did or didn't like them. Happy Stitching!

(Through the Needle's Eye received no compensation for this post)


Thursday, July 6, 2017

Welcome to Germany: Quilter's Style


The sum total of my stitching choices while I wait
for my sewing room to arrive.
As we told you in our post "Going Global," I (Kara) have moved to Germany! We found out that we would be moving here last October—two days before Teri and I left for Quilt Market in Houston. I waited to tell Teri that it was official until we had arrived at our hotel, and she was sitting down with coffee in hand (wine would have been better, but it was only ten in the morning). She took the news well, and we proceeded to enjoy all the wonder that is Quilt Market and Quilt Festival. I was told so many times in that week, "You had better stock up on fabric, because it is so expensive in Europe." So for that week and up until we left, I took those words as a personal challenge and built up my stash. My stash is currently on a boat, working its way to me, and unfortunately, I don't expect to see it until the beginning of August. I did pack my Academy of Appliqué 2018 block, a crazy quilt project, and an English paper piecing project, but that is all the "quilty" stuff I have.

We have been living in a hotel for about three weeks now, and while stitching on the above projects is fun, I was definitely craving some quilter companionship. Thankfully, the Black Forest Quilt Guild had their monthly meeting the last Friday in June. My new friends—Birgit, Lisa, and Becky (thank you Facebook)—let me know the place and time and off I went to the meeting, driving by myself for the first time.

The guild meeting is held monthly in a community center very near our hotel. I was a bit early, but I was warmly greeted by those who were there. The guild, almost 20 years old, is made up of ID card holders (military and civilian) from the Stuttgart area, as well as residents of the greater Stuttgart area. 

A view of the library table

A beautiful hall to host the guild meeting

The guild began with a little business first, and then a lovely program about traveling with various quilt projects. The speaker brought quite a few handy items—such as bags, tools, patterns for bags, and many tips and tricks. 

The speaker (on the right) sharing some of her quilting travel trips.
Because this is a German/American guild, both languages are represented,
so this presentation was given in English and interpreted in German.

Then some of the members showed their favorite quilt projects for travel. One project that someone brought was a quilt done in the Japanese fabric folding method, atarashii. I had never seen this method before, and it is a bit difficult to find much about it on the web, but it is beautiful and very portable. You can see some tutorials here and here, but you must use Google translate, unless you are fluent in German. I was fascinated by this method and can't wait to give it a try.

I love the color choices!


Demonstrating some of the prep work.

Sharing this method's portability.
Each piece is quilted individually, so there is no need for quilting once
all the pieces are connected.

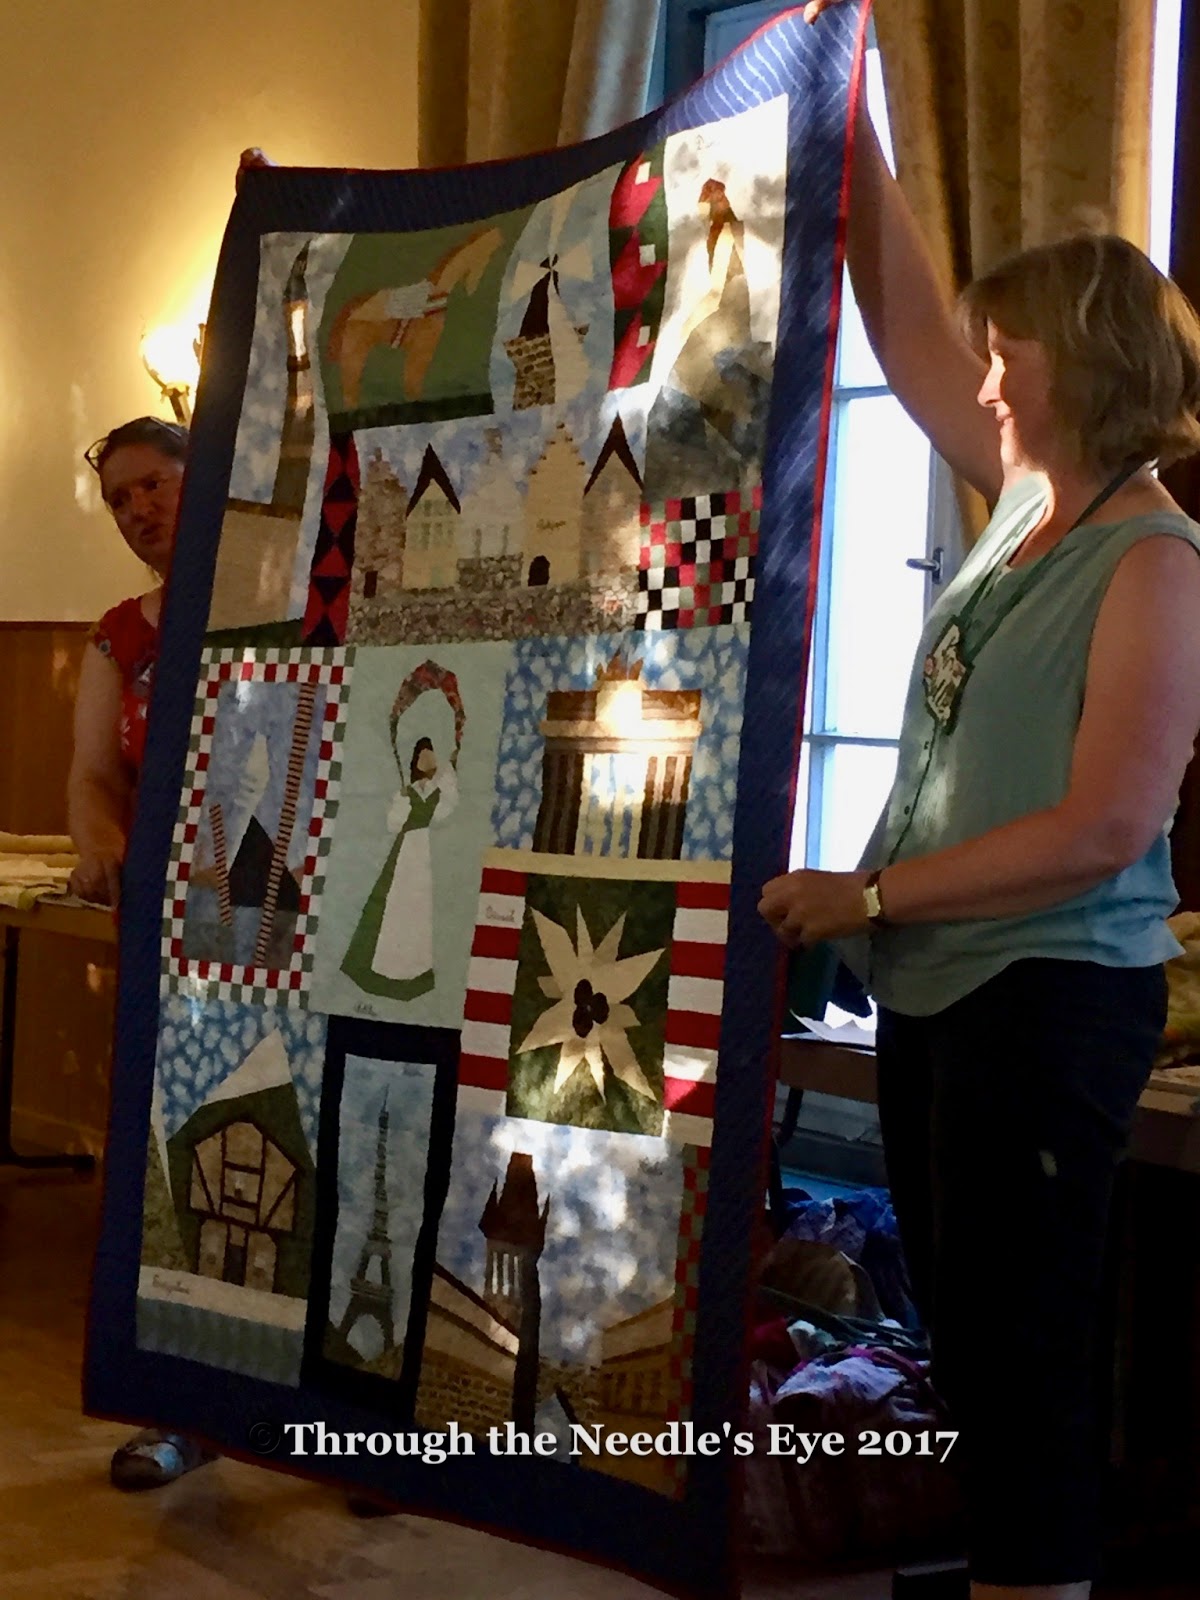
After the presentation and a break, it was time for Show and Tell. The quilts that members showed varied in size, style, and method, but they were all wonderful. I didn't get pictures of all but here are a few. Note: While the hall was beautiful, the lighting was not the best for taking pictures.

As part of the travel theme, members were asked to bring quilts,
 if they had them, about travel. 

This quilt with mini campers was adorable.

Many of the places visited during this quilter's time in Germany,
are represented in this quilt.

This quilt represents a visit to the northern part of the U.S.

Another gorgeous quilt highlighting places that were visited. 

This beautiful quilt was made from different shirtings.

A T-shirt quilt made for her husband.

This quilt was made for a close friend. Wouldn't you be thrilled to receive this?!

My new friend Birgit and a child's quilt she made.

She cut out and quilted some of the individual
panels to create a memory game.

The green in this quilt started life as a tablecloth.

A sweet child's quilt, lovingly made.

This quilt is stunning in person!!

A patchwork garden

A beautifully done Bonnie Hunter pattern.


This guild does two different block of the month projects each month. Those who want to participate, make the block for that month—either modern or traditional—and then they have a chance to win all the blocks. 

The traditional June BOM.

The modern June BOM.

Someday, when my ship comes in (meaning the boat that is carrying my sewing machine), I will definitely take part in these fun blocks and all the other exciting activities this guild offers. They even let you ask for a block to be made by fellow members, to commemorate a birthday, farewell, or other special event. One lady asked for a birthday block, and passed out materials and guidelines for the block. I will share more on that in another post.

The Black Forest Quilt Guild has been one of the most welcoming guilds that I have been privileged to attend. It proves my theory that quilters are some of the nicest people, no matter where you are in the world. I am looking forward to jumping right in with both feet and a sewing needle! Hopefully you have enjoyed reading about a guild on this side of the world, and if you have a special story about your guild, please let us know!

Thursday, June 29, 2017

Log Cabin Love

As novice quilt collectors, Teri and I (Kara) have stumbled upon some wonderful finds in our early collecting days. We do not have infinite budgets, so the quilts we have purchased have been on the low end of the cost spectrum, but usually appraise well above what we paid. I make sure my husband knows that little fact when I come home with an old (new to me) treasure. 

While vacationing in Maine in the fall of 2016, a friend and I did some antiquing in and around Wells, Maine. I wrote about some of the things we saw here, but what I didn't write about was my purchase. When I go to an antique mall and see a booth with any type of linen or fabric, I usually scour the booth from top to bottom. In this case, my intense perusal paid off, and I found this beautiful, log cabin summer quilt.

This particular log cabin is the "Sunshine and Shadows" variation.

Over the course of the last year, I have been fascinated by reproduction fabrics, so when I saw this, my first thought was, "Oh! Someone made a quilt with reproduction fabrics." Then I realized they weren't reproductions! I looked at it closely—it was in good shape, but my knowledge of dating fabrics was minimal at the time. While the price was reasonable, I wanted to think about it some more, as this would be the first time I had purchased a quilt for my collection. After seeing pictures, Teri encouraged me (as a good friend should) to hightail it back to the booth and buy it. Thankfully when I got there, the booth owner was tidying the booth, and I was able to get a little information from her. She had purchased the quilt from another dealer in Maine, who said it came from Dover, New Hampshire, and was made with Cocheco Mills fabrics. Unfortunately, that was all the information she had.

At the time, I had no knowledge of Cocheco Mills and the important part they played in the history of American fabrics. As soon as I got home, I researched the name and found this wonderful article by Kimberly Wulfert, PhD. You can read her article here. Regardless of the type of fabrics, I fell in love with this quiltmaker's use of fabrics.

I love the blue centers, some of which are made from silk.

Of all the reproduction fabrics we have available to us today, I think the pinks are the easiest to find.
The above block contains a good example of a popular pink of that era.

You can still see a little glimpse of the purple in the brownish fabric.

After visiting my favorite appraiser, Phyllis Hatcher, I was able to find out that indeed, this quilt was made from fabrics from the 1870s-1890s. There is no batting, which given its location origin, indicates that it was made to be a summer quilt. The backing is pieced blocks of muslin, and it is evident that the maker was quite thrifty and used up even the smallest scrap of muslin.


Pieced muslin backing 

Closer detail of the stitching

One of the shadow blocks looks like it may have been a mistake—I wondered if the maker just ran out of dark materials. At the appraisal, Phyllis and I discovered that the fabric that looked to be part of the mistake, had indeed been a darker purple that had faded through the years.

The block on the upper left appears to be a mistake.

A close-up of the light fabric

Here you can see the
original purple.

This quilt was a good start to my antique quilt collection; little did I know that eight months later, I would find another log cabin quilt. This time my find was a bit closer to home in Emmitsburg, MD. Teri and I were meeting her parents for lunch as a good-bye before I moved to Germany. We were there a little early, and there just happened to be an antique mall nearby...so off we went. I wandered into a booth near the entrance and found this gem.

Quite a bit different from the previous log cabin quilt

My quilt-dating skills had improved somewhat since my first log cabin purchase, so I guesstimated the age of the quilt as closer to the turn of the century. My guess was confirmed at the appraisal, as most of the fabrics dated in the range of 1880s-1900s. Whereas the first log cabin quilt consisted of almost exclusively cotton, this quilt had a wide range of fabrics: cotton, silk, fouillard, and faille, just to name a few.

The navy fabric pictured was a striped print which allowed the maker
to use the same fabric, but with different looks.

The piecing of this quilt wasn't the most skilled, but that certainly
added to its charm.

A classic red center, and in this block you can see the use of the navy fabric;
this time more of the print is shown.

An interesting thing I discovered when the quilt was appraised, was that it had never been washed! Based on some areas on the edges that were dirtier, we surmised that it had possibly been used on a bed, but had then been put away, since there is little fading of the colors.

A picture of the quilting from the back side

These two quilts were purchased with very little information about their origins. We can make deductions about what they are made of, how old the fabrics are, and even some information about the way they were quilted, but we still don't know their full stories. I certainly wish quilts could talk and tell us all about who made them and why, but for now, we will have to let our imaginations come up with their tale.

If you would like to read more about some of the quilts we have added to our collection, you can read about them in these posts: